If you, or a loved one, are graduating you’ve probably been thinking about all the social stigmas associated with graduation invitations and announcements… Who should I be inviting? Am I responsible for housing them? How many is too many? What if I come off as if I’m just asking for money?
If you’re not asking these questions… you should be! I made the flaw of not considering every aspect. I thought, “I don’t want to beg for gifts, and I don’t want to inconvenience anyone.” And then a bunch of my family was hurt they didn’t get invited and sent me gifts anyway. So maybe I should have gone with the tactic my father and I used for my high school graduation: send out announcements to everyone but slip in a little note declaring no gifts expected!
Now it’s been nearly a month since I walked, and I’m only just getting these announcements printed. If you’re looking for a little inspiration, I’m going to walk you through how I made this graduation announcement. Get yours out on time! ;)
And if you’re being commissioned to take photos and prepare announcements, head over to Lilies and Light for some tips on knowing your worth and getting creative with announcement design.
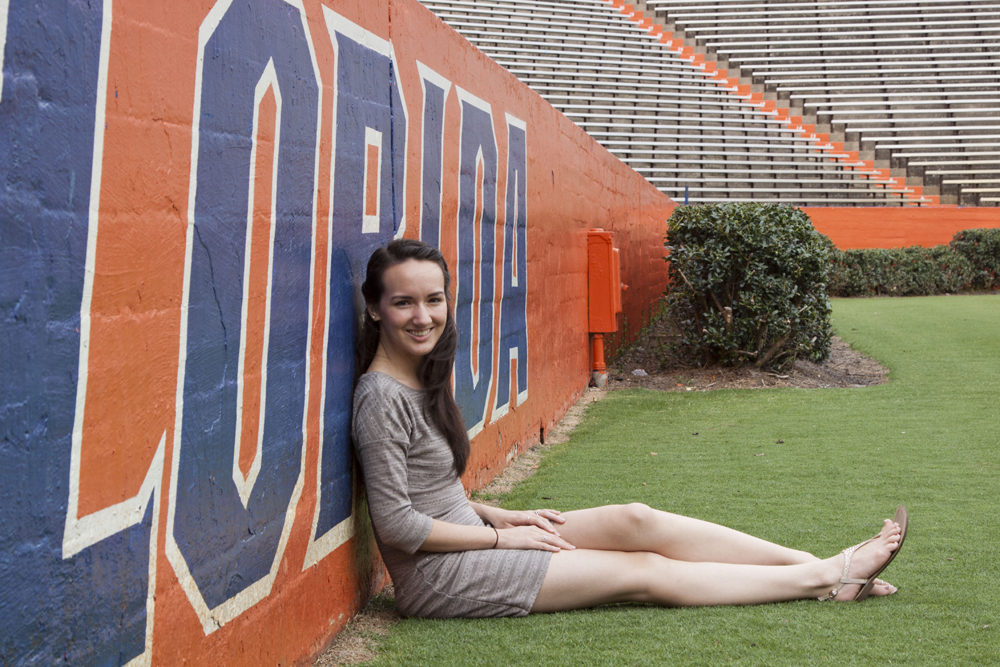
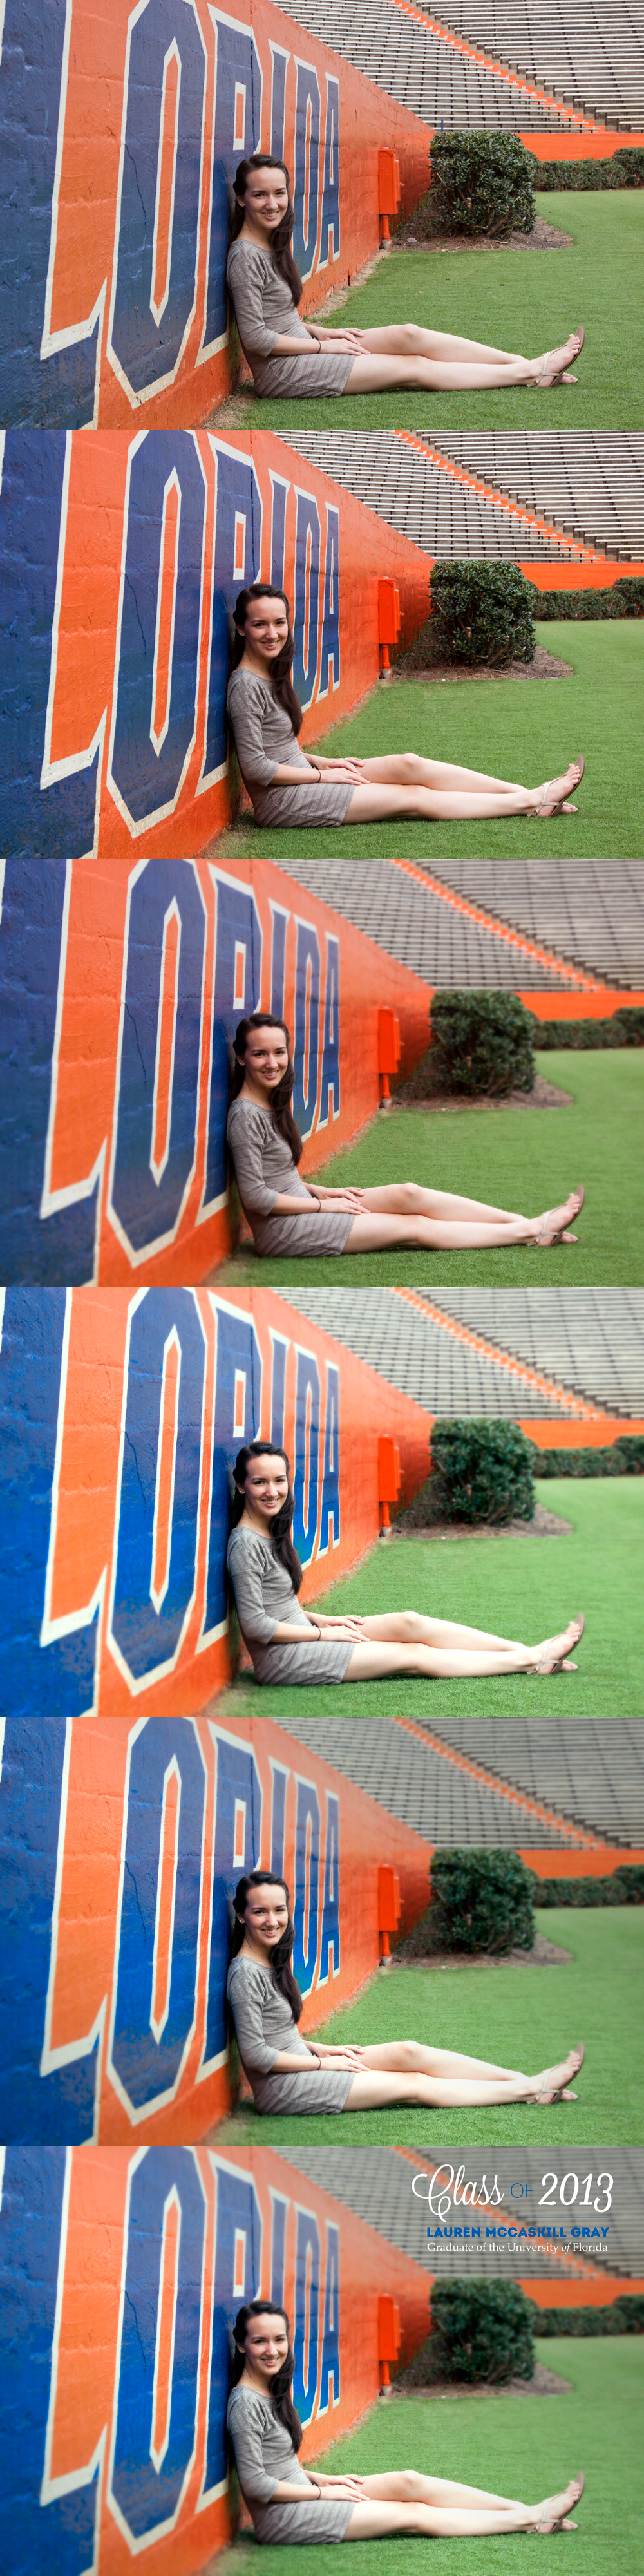
Here’s how my photo started. Cute, but sloppy. My colors are more faded than I’d like, there is paint in the dirt and dirt in the grass, the wall is peeling, and grass isn’t even alive at the bottom of the wall! Not to mention anywhere I try to add text it’s either impossible to read or in a really odd location.
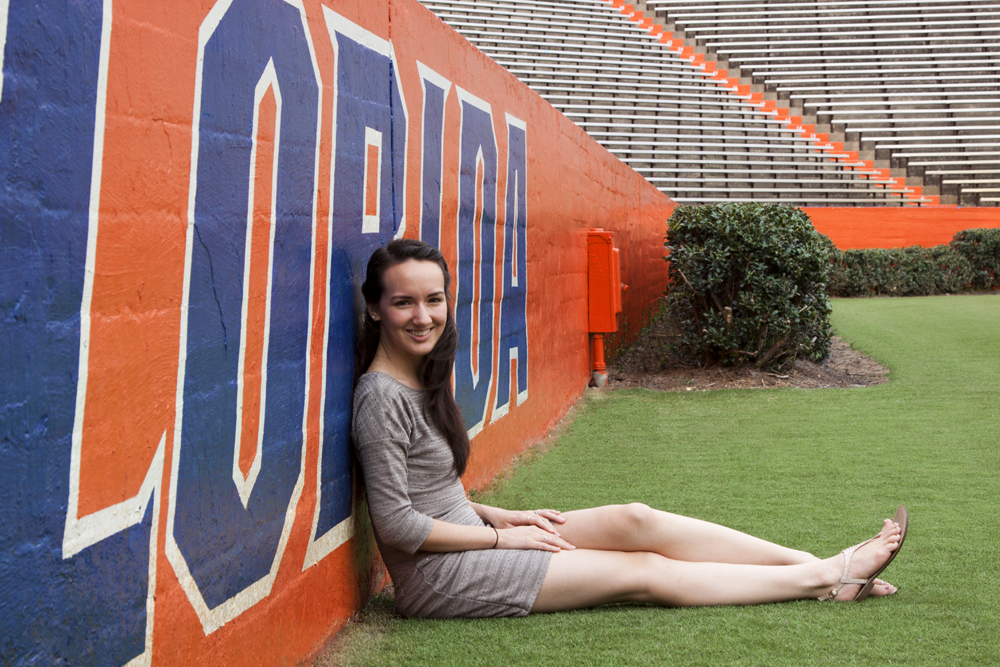
So I began with basic touch-up techniques. Using my spot healing brush tool (shortcut “j”) I touched up all the areas with blemishes in my photo: the wall paint, my skin, the grass, and even the dirt around the bushes.
Using Image>Adjustments>Hue/Saturation (shortcut “ctrl+u”) I changed “Master” to “Reds, “Blues,” and “Greens” one-by-one, bumping up the saturation of each.
I finished with my healing brush tool (different from the spot healing tool, but in the same menu) to clone and blend the grass and replace a good chunk of that dead area.
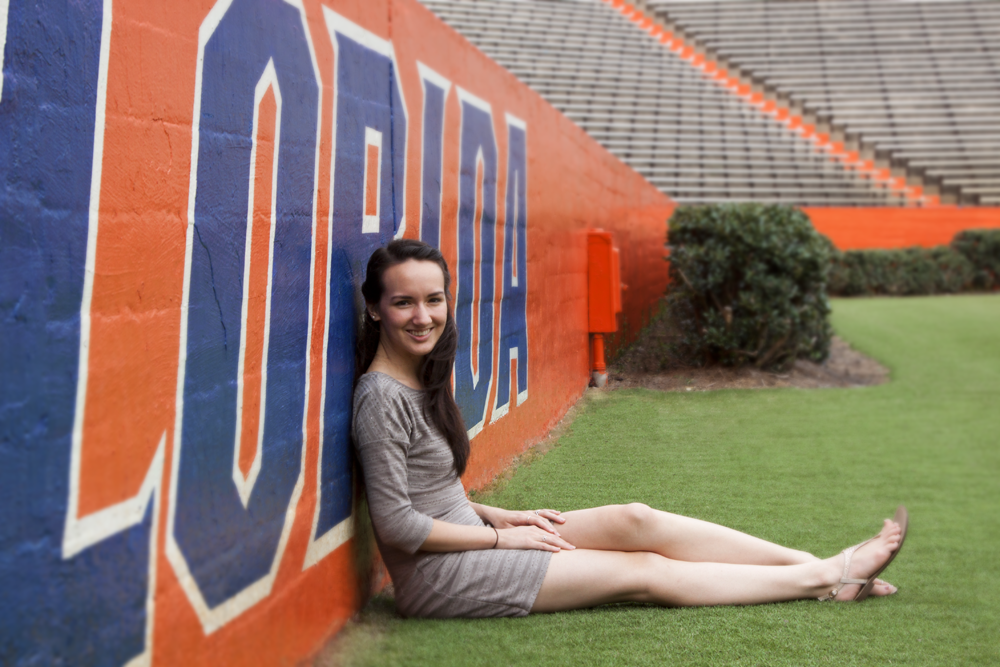
Now, in order to give myself a place to put the text, I started blurring areas of the photo that shouldn’t be in focus. There’s a blur tool you can use, but a gradient mask is a lot easier, faster, and more natural. You can use either Gaussian or lens blur from your Filter>Blur menu. I applied the blur twice, in small amounts, with two different gradient angles.

After doing the manual touch-ups, I started going through my Photoshop actions to see if any added to my photo without changing it drastically. I actually ended up using an eye enhancement action! If you’d like to try it, you can download that here.
When I use an action, I generally stick with all the preset amounts. But in this case I changed some settings. In the “curves” pop-up I clicked “Auto” then “OK”. In the subsequent “Replace Color” pop-up I changed “Fuzziness” from “49” to “35” and the “Gaussian Blur” I changed “0.8” to just “0.1”. I clicked “OK” or “continue” through the rest and since my layers didn’t merge properly, made “Layer 1” visible and took care of flattening the image myself.
Using the same masking technique as above, I further blurred the back and used Image>Adjustments>Exposure to darken that area of the photo. I wanted to make the white pop but keep the blue legible.
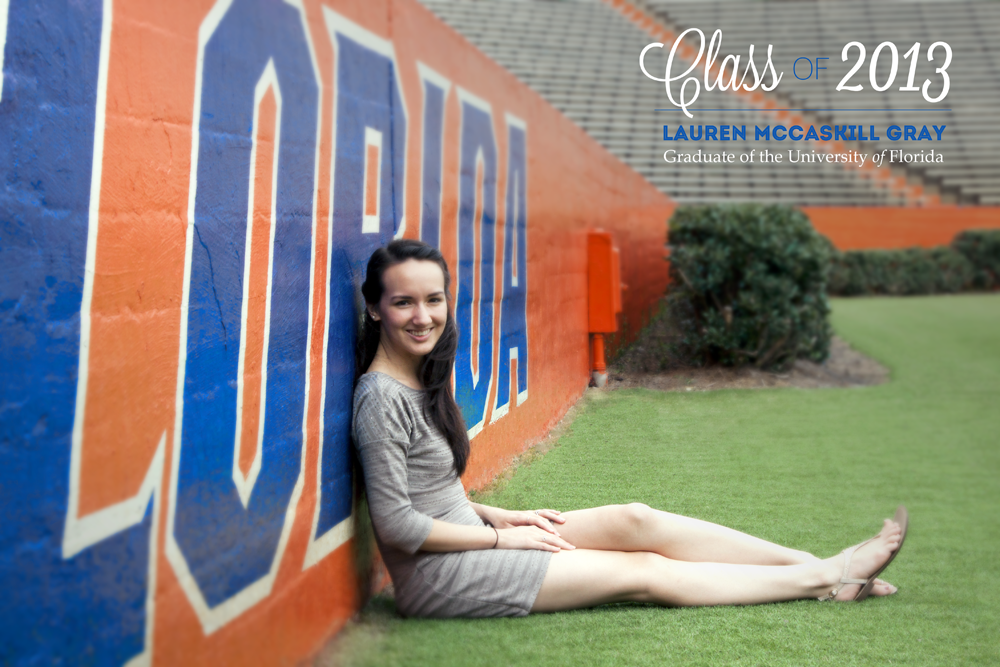
Finally, I added text. I’m using the four fonts here:
- Lavendaria
- Lane – Narrow
- Intro Inline
- Palatino Linotype (official UF font, commonly pre-installed on computers)
I used different colors and sizes to distinguish sections, but remember that less is more. I easily could have gotten away with fewer typefaces, especially if I resisted the desire to use UF’s official font!
The line under “Class of 2013” was created with a 2-pt brush and the use of my “shift” key, which either makes your lines straight or keeps your proportions equal, depending on which tool you are using.
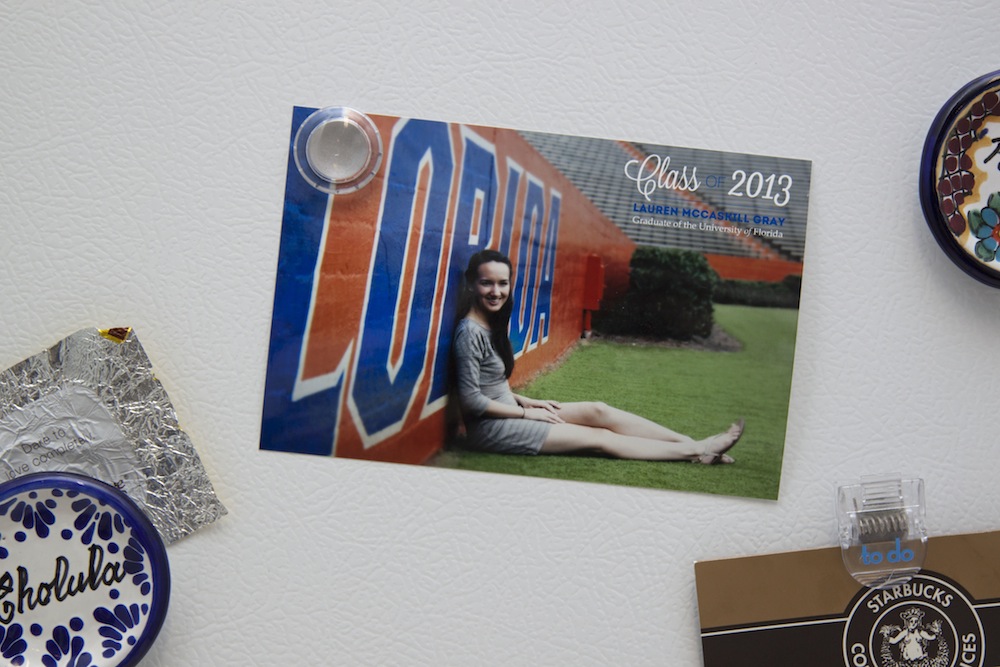
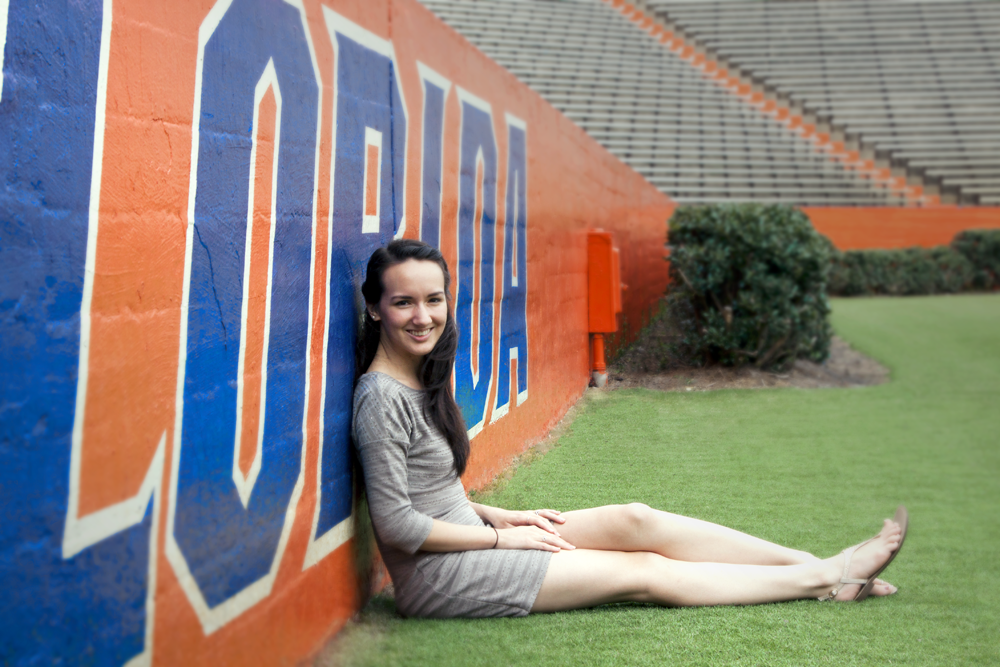
I have to say, it printed well and looks great on my fridge. If I were to make changes though, I’d probably crop it different: get a 5×7 print, to make it a bit larger and more unique. I’d also use the sharpen tool to bring myself back into focus, especially my head & face. Since I wasn’t used to playing with blur, looks like I got a little sloppy!
Because I recognize it’s difficult to see the differences on my site, this link will show you the images in a larger, crisper size: here. Or you can check out the fun gif below!
3 Responses