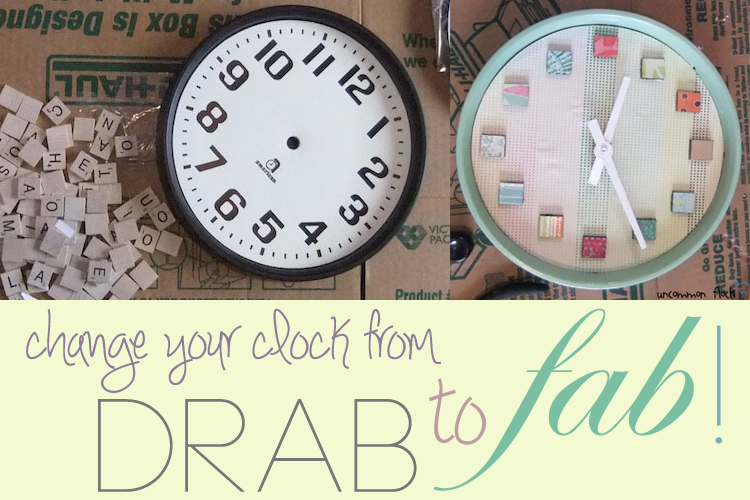
For our first Pinteresting Weekend at uncommonflock (and before we’d realized we all wanted to create uncommonflock!) Sara, Anie, and I got together to spruce up our office clock into a little more interesting of a design: a DIY scrapbook clock!
First, we gathered our supplies: a cardboard box to catch the mess, scrapbook paper, paint, scissors, scrabble tiles, mod podge, and our old clock. Then we went ahead and dismantled the clock.
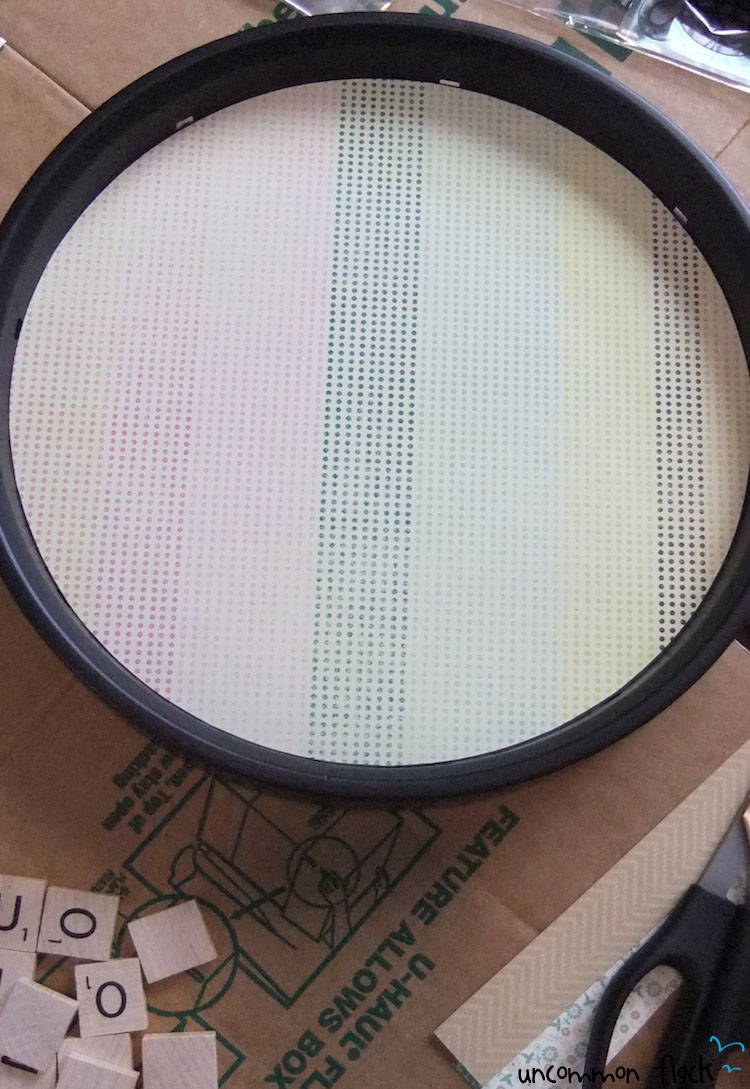
We traced a circle onto the back of a piece of scrappbook paper, cut it down to size, and made sure it was going to fit perfectly.
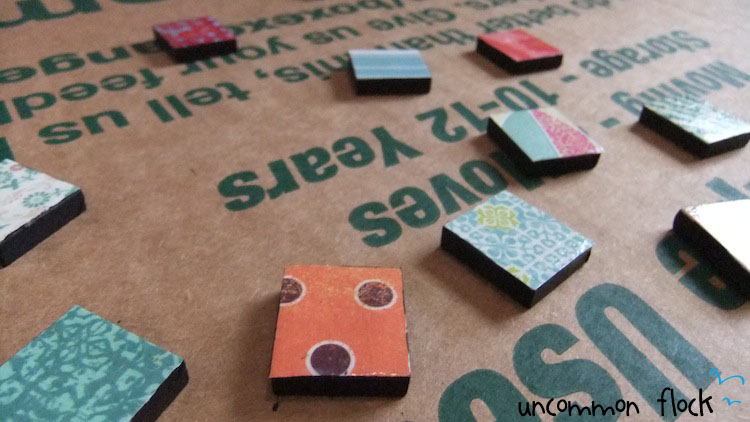
For the tiles, we trimmed down a piece of paper around the tile, mod podged the paper onto the tile, sand down the sides (actually, we had to improvise with a nail file), and later gave the tiles a mod podge seal. If you have the materials, you should diamond glaze the top!
We looked at the tiles on the pre-cut background, and decided they should pop a little more, so we painted the edges black.
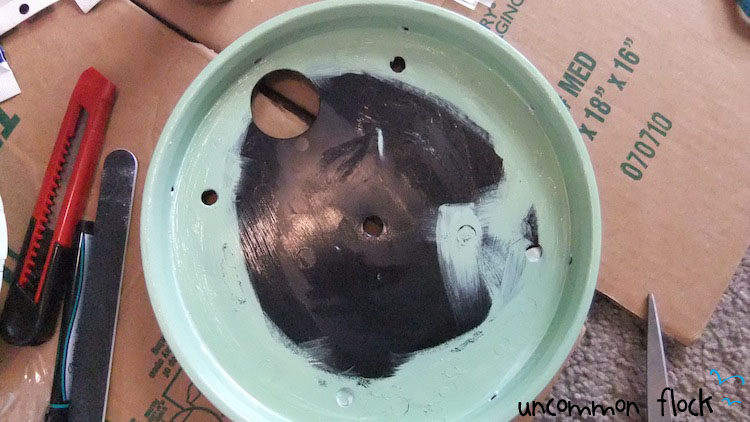
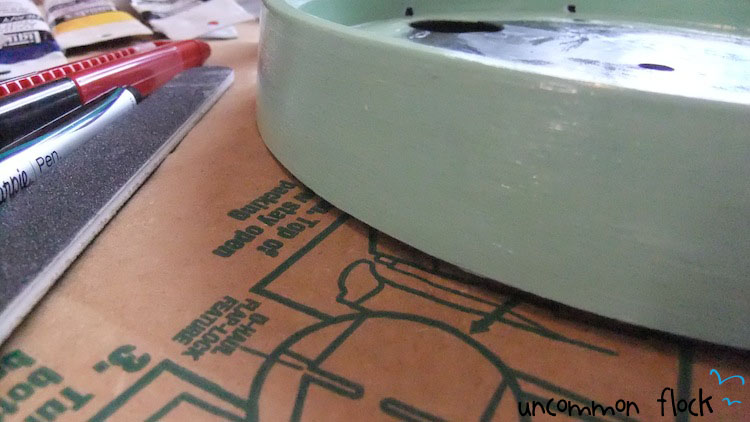
We were getting close to the end! Agreeing on a seafoam green color, we gave the clock two good coats. (Don’t bother painting the back, you’re covering it with scrapbook paper!)
And our paint was a little flat, so we gave the clock a mod podge sealant too, to gloss it up.
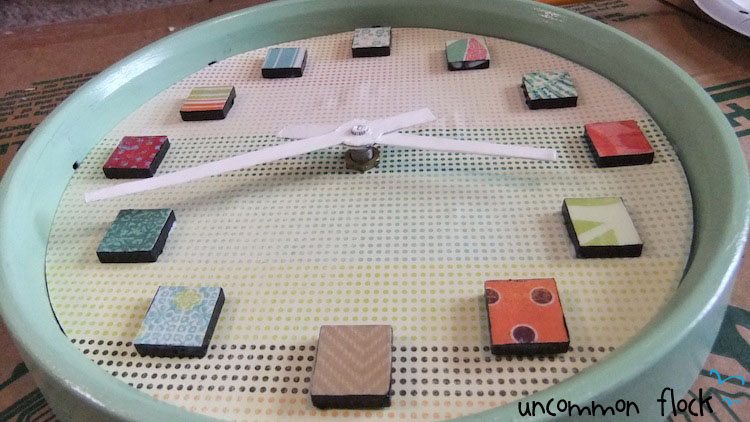
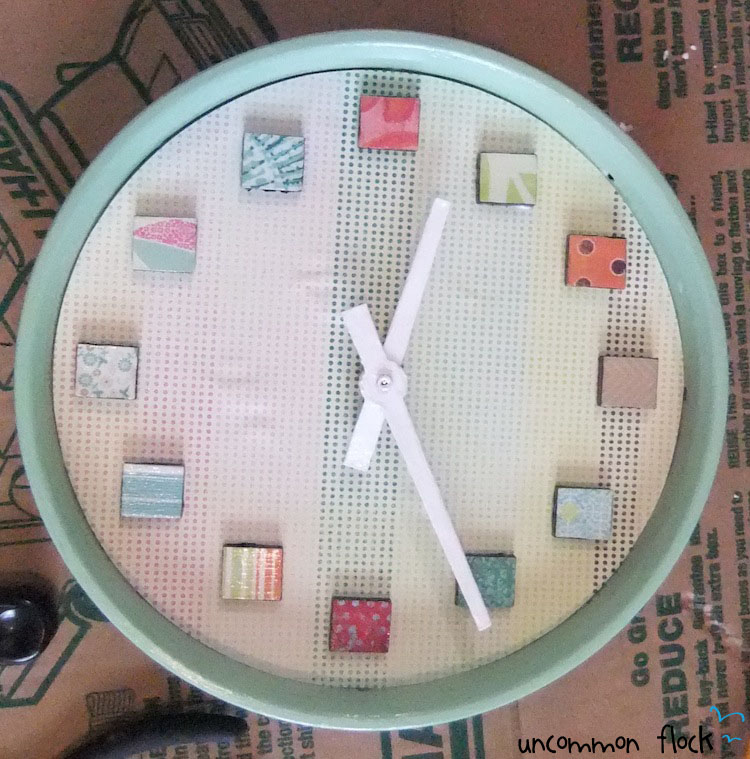
Putting everything together, we glued it in place and waited for it to dry! (Also, notice that we painted the hands white, and removed the ugly red seconds hand.)
(Be sure to give the back of the clock a thin, even coating of glue, so your paper doesn’t ripple.)
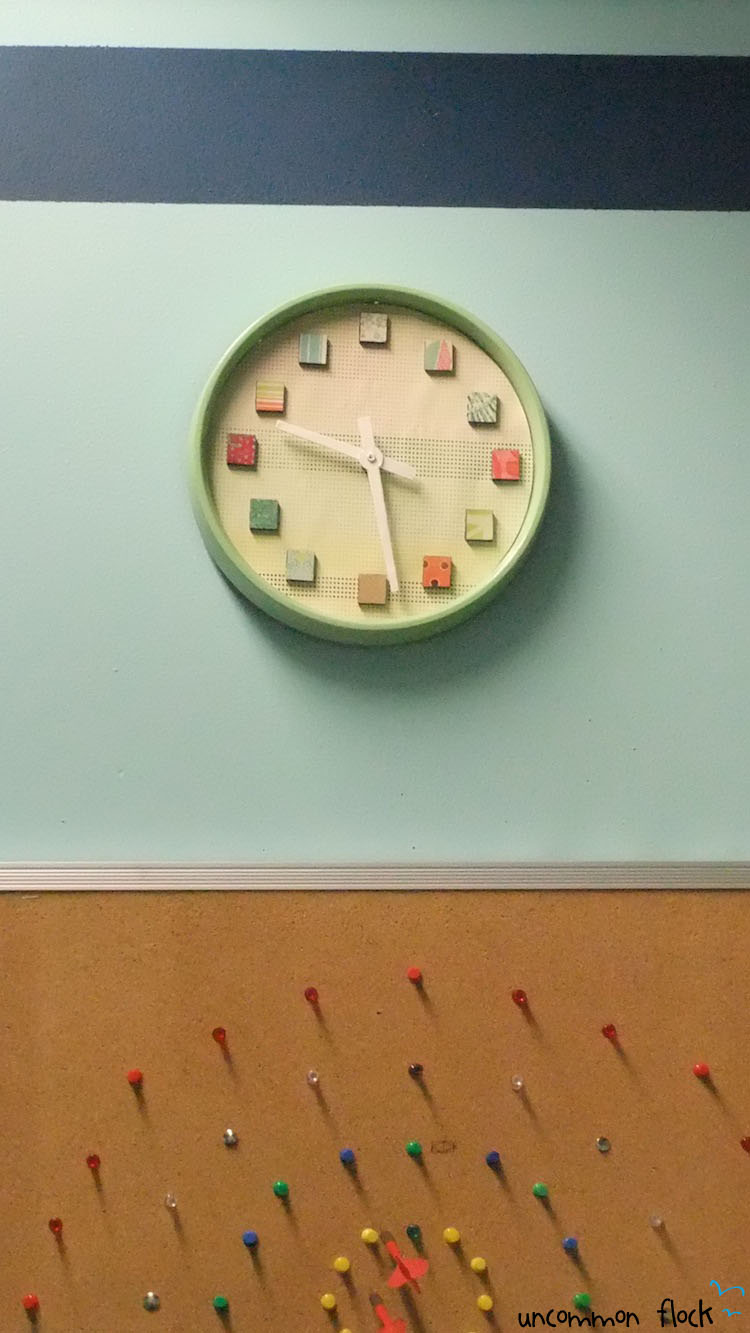
Finally, of course, hang. :) Preferably over your make-shift dart board – so you don’t get bored at work.
Approximate Cost:
- It was free for us, because we had left over supplies!
Approximate Time:
- About 3 hours, goofing off and waiting for paint to dry included.
Materials:
- Drop cloth (we used a left over moving box)
- Scrapbook paper
- Scissors
- Scrabble tiles (or other small pieces – you could use bottle caps or even just pennies!)
- Mod podge
- Old Clock
Instructions:
- Disassemble clock, removing surprisingly cheap paper back
- On the paper you want to be the back of your design, trace around the base of the clock
- Cut it, trim it, make it fit!
- Next, start preparing your tiles:
- Holding your tile to the paper, trim a piece of correct size
- Mod podge your paper to the tile
- Sand down the sides
- Add a mod podge sealant
- Paint the sides black
- Separately, paint your clock in desired color
- Seal with mod podge
- And, if you want, go ahead and paint your hands (ie. hour and minute, not body part)
- Once you’ve given everything adequate time to dry (we just waited until everything was dry enough to handle, like 10 minutes):
- Reassemble, using mod podge to secure the back & tiles!


1 Response