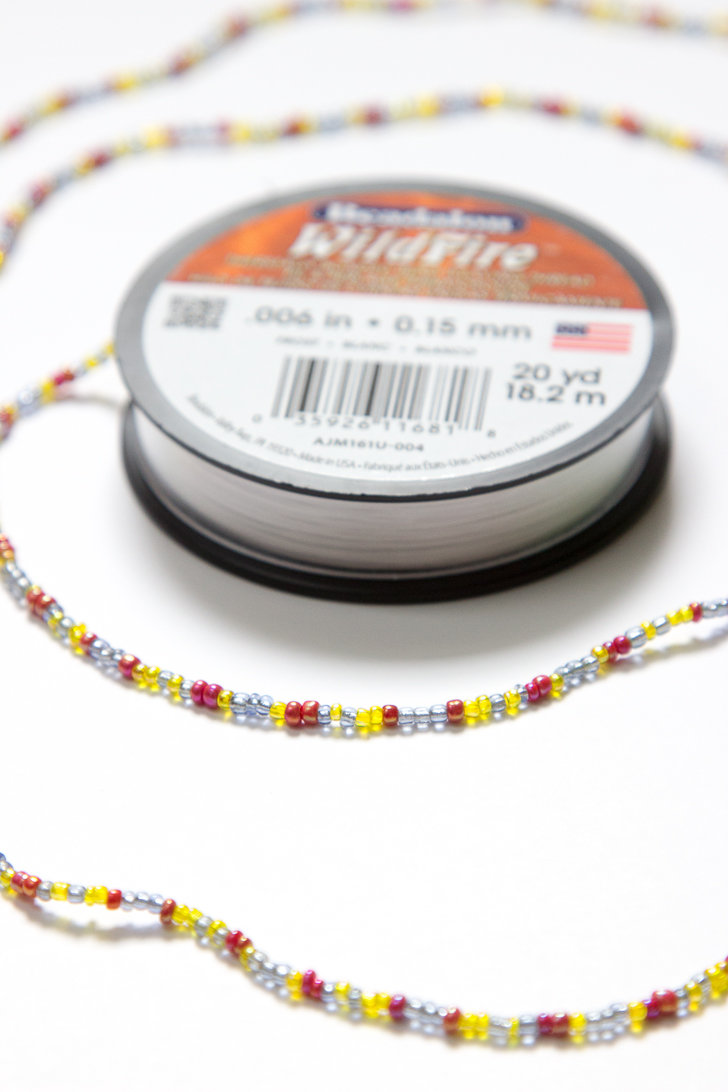
As promised, a glimpse at beginning bead crochet for starting your first bracelet project! In these photos I’m using a thin thread with size 10-ish seed beads, but I’d recommend doing your first project with the thicker thread seen in yesterday’s post, and size 6 (read as 6/0 or 6° [degree]) beads.
Photo Tutorial
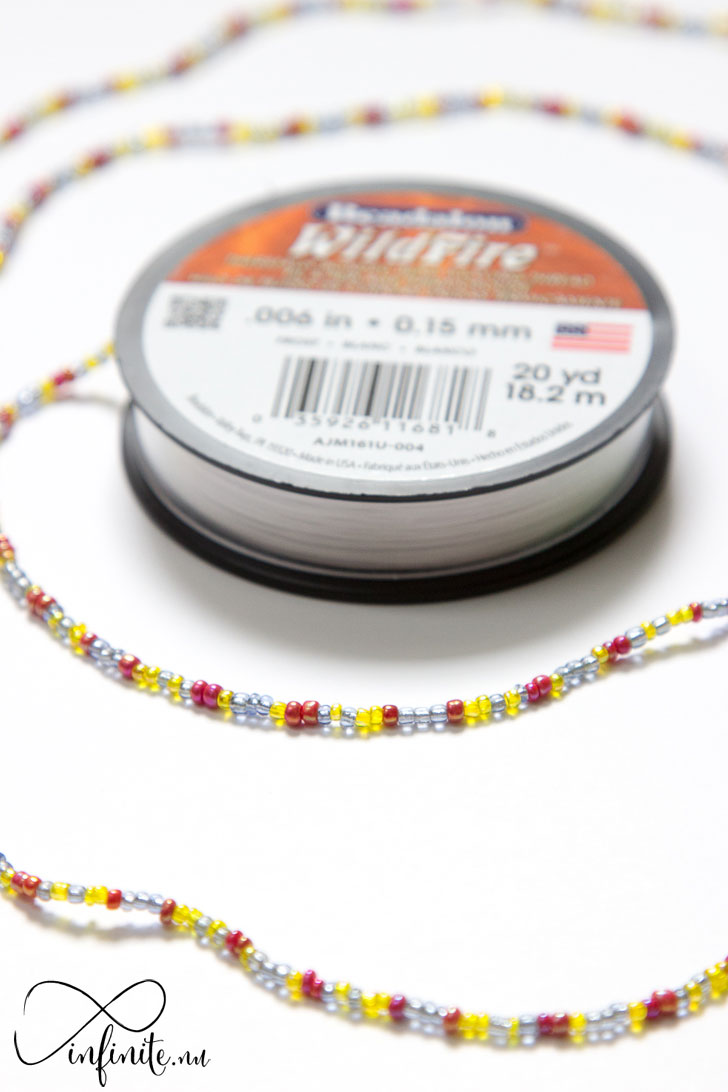
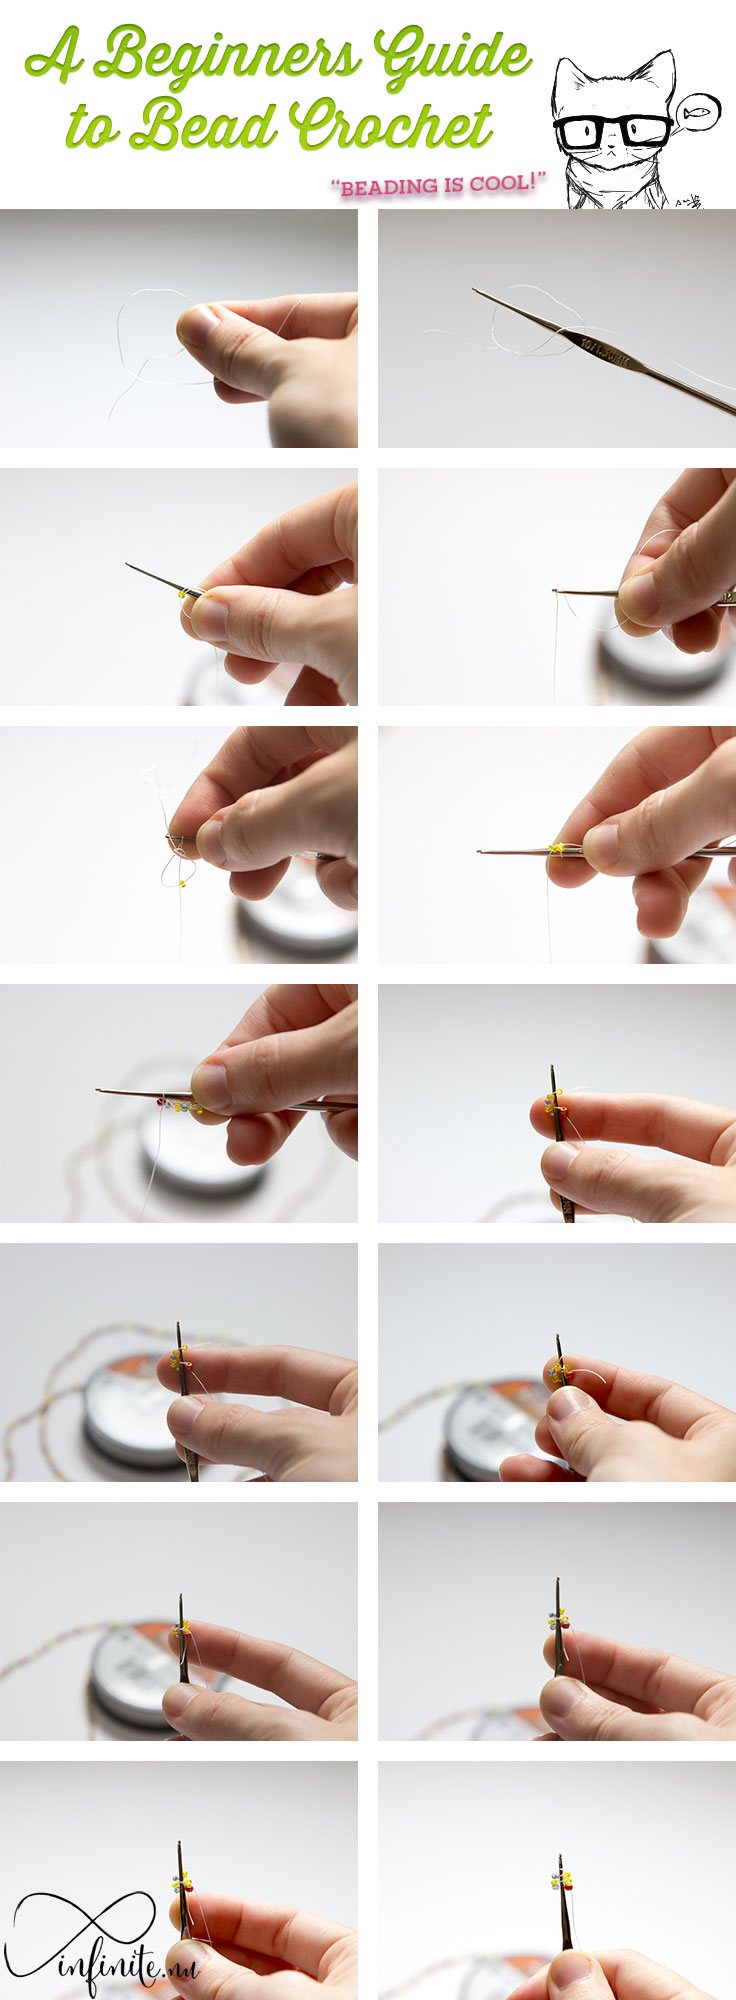
Begin by stringing your thread with enough beads to fill an entire length held between both hands, stretched out as far as possible! (That’s a lot of beads.) If you want to do a double spiral pattern, use three colors, alternating between each one.
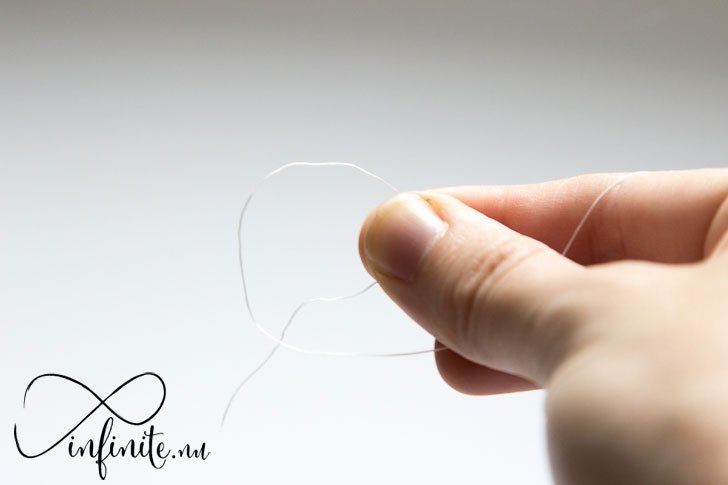
Once you have all your beads on the thread, push them up enough to have some extra room on the end. Use that to make a slip knot.
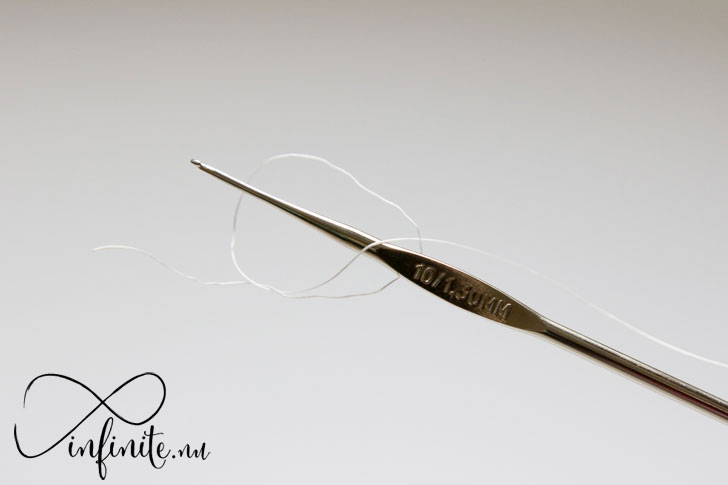
Slip your crochet hook into your slip knot, and now the hard work begins!
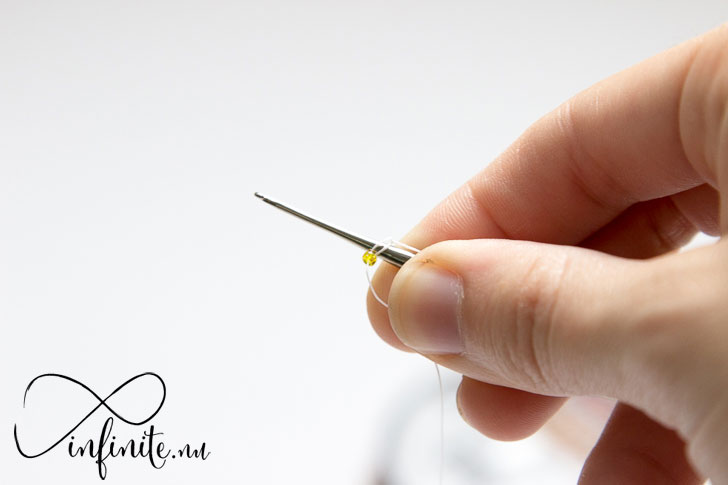
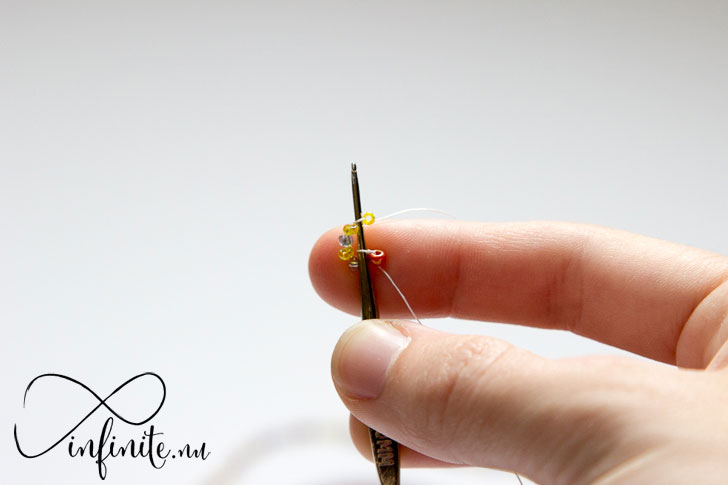
Next we’ll build our first row by pushing our first bead up against the hook.

In your right hand, hold the hook, tail end of the thread, and bead. Using your left hand, wrap the longer, working end of the thread behind and over the hook. I keep some slack in the thread, and wrap the thread tightly around the hook.
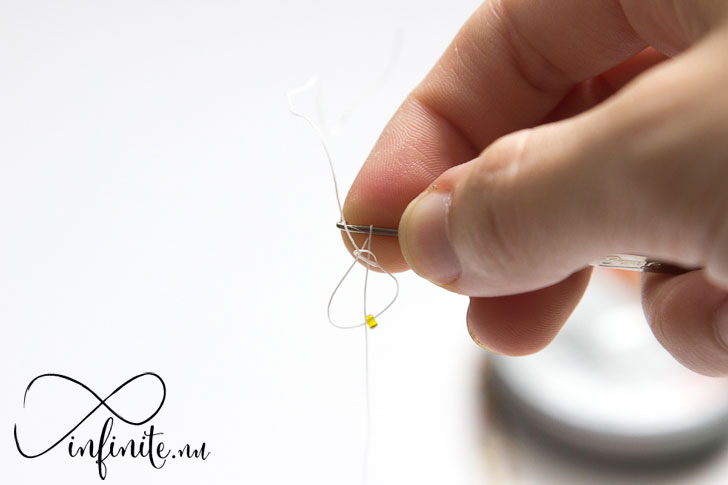
Then push the loop, and bead, over this piece. Pull your new loop tight.
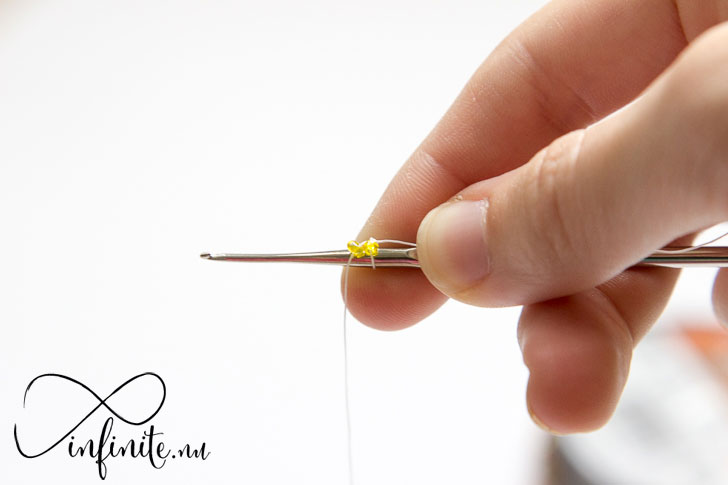
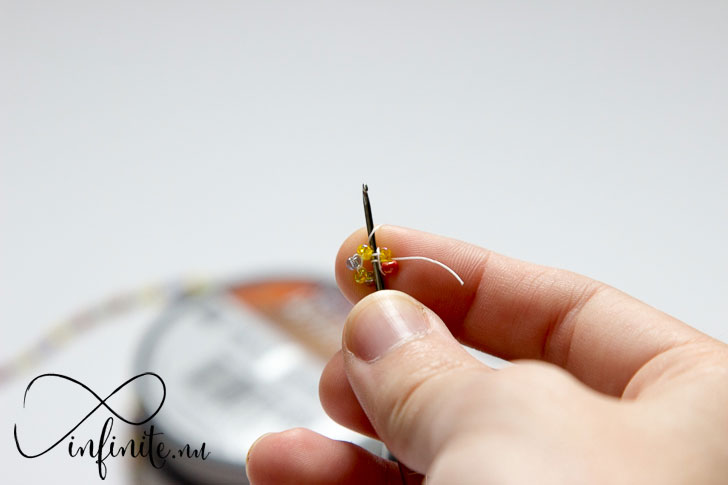
Push up your next bead and repeat until you have the number of beads required for your pattern.
For the double spiral, you’ll want a six-bead base.
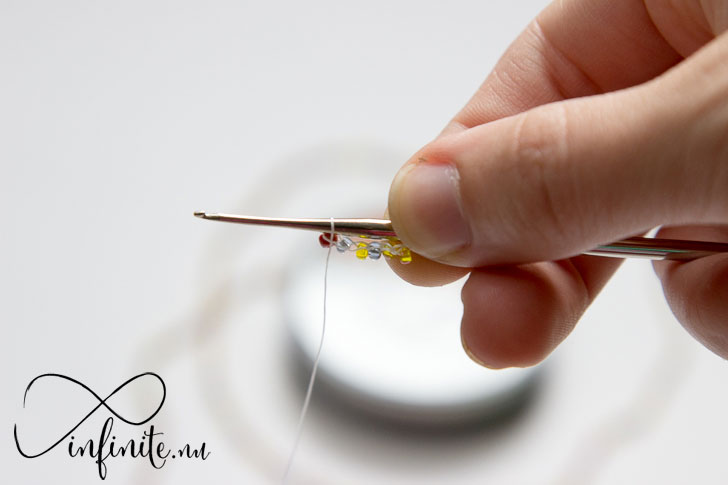
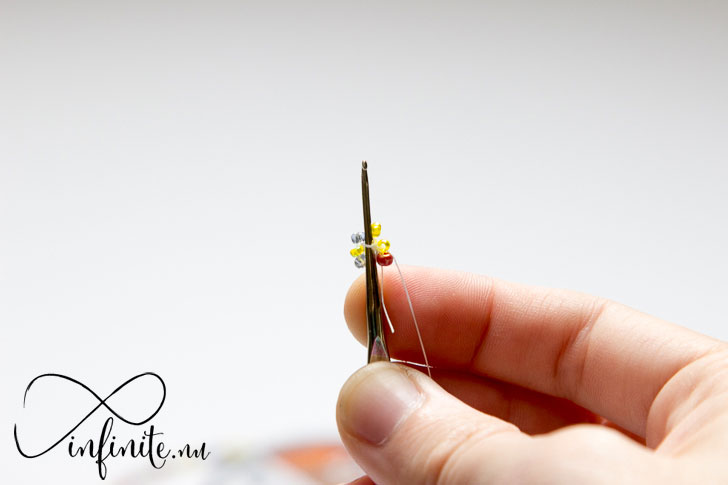
Now turn your attention back to the first bead. Push your hook between the thread and the bead, then ensure your bead is on the right side of the hook.
This part is really important, and if you mess it up you’ll quickly realize your pattern isn’t turning out as expected. Take the working end of your thread and wrap it over your bead, then behind and around your hook.
Catch this loop and pull it through the two already on your hook.
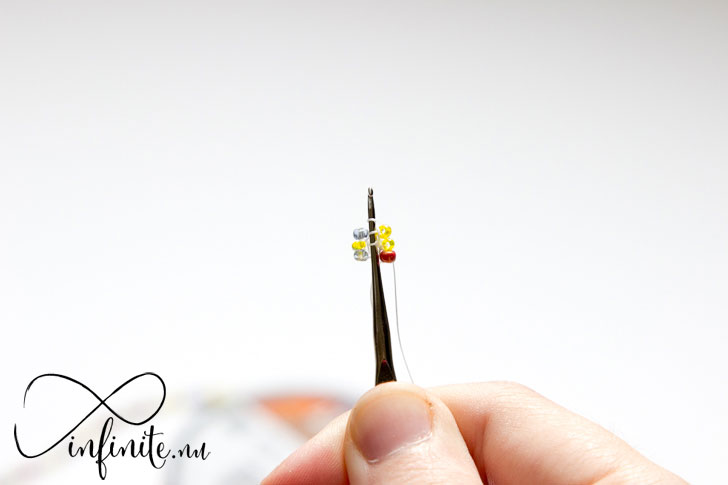
Repeat this pattern until you have your bracelet! The first few rounds are tedious, but once you’ve built up solid base everything will come together a lot quicker. :)
Beginning Bead Crochet Summary
YouTube Tutorial
Here’s a great YouTube tutorial that has some really wonderful animations to help illustrate the process:
[youtube https://www.youtube.com/watch?v=oXpXqde-PKY]
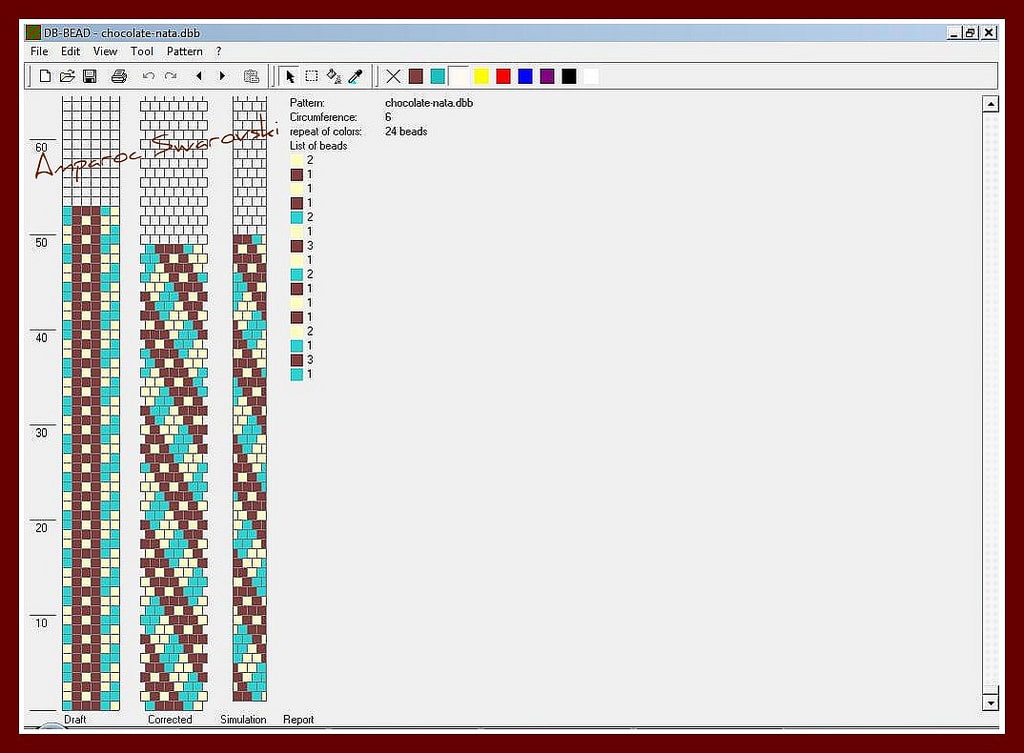
Pattern Used
By the way, here’s the pattern I’m using in this tutorial:
Questions in the comments!
Leave a Reply