It’s no secret that I love to paint my nails. I had to stop posting them on instagram, because my friends just don’t care that much. So no wonder I think Valentine’s day is a great excuse to do them some more! This was even easier, because I made some simple DIY adhesive nail designs while I was sitting around one day and just stuck them on my nails when I was ready!
Supplies
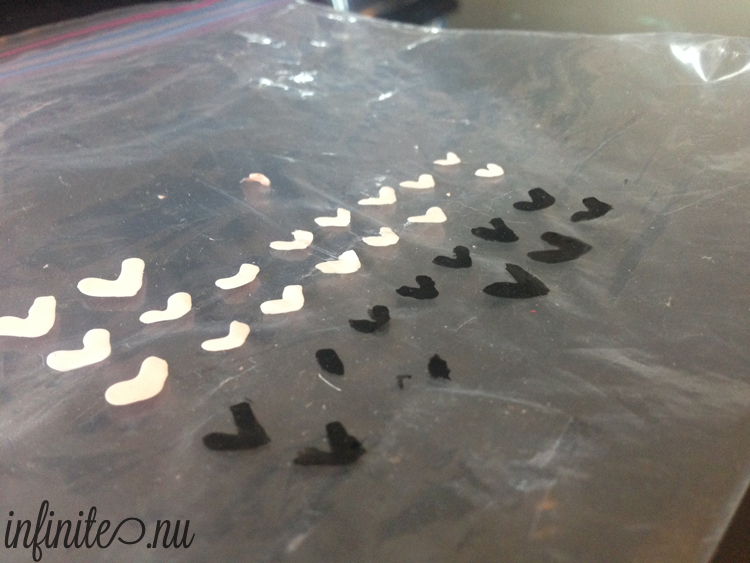
To make your adhesives, grab any old sheet of plastic (I use ziplocks, and then I store nail supplies in them when I’m traveling) and draw your design on with regular polish. I did hearts for Valentine’s day – some big, some small. Maybe do a second coat if they need it, and let them dry. They’ll keep for as long as you need them – but we aware that they fall off the plastic pretty easily!
DIY Adhesive Nail Designs
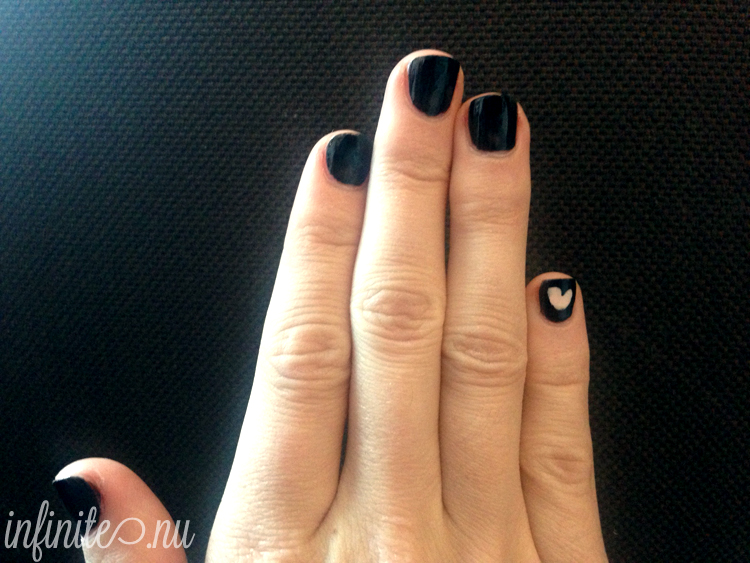
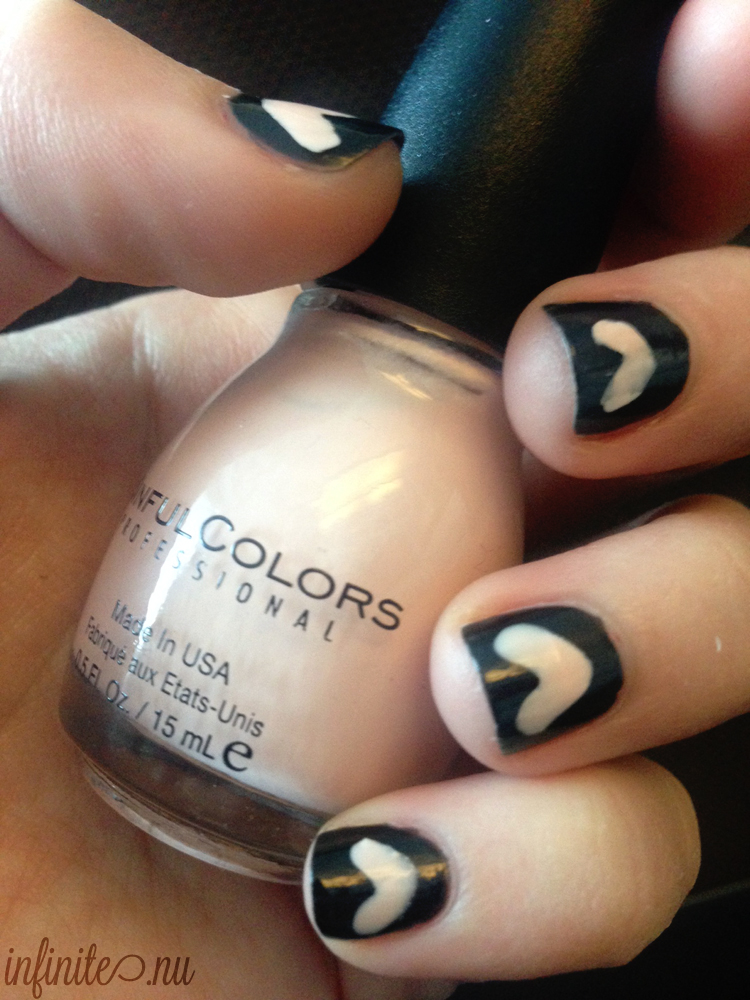
Even though I had two colors of hearts, I decided to do all my nails black and use the pink hearts. Just stick them on as your top layer is drying. My first one went on really well!
Fixing Mistakes
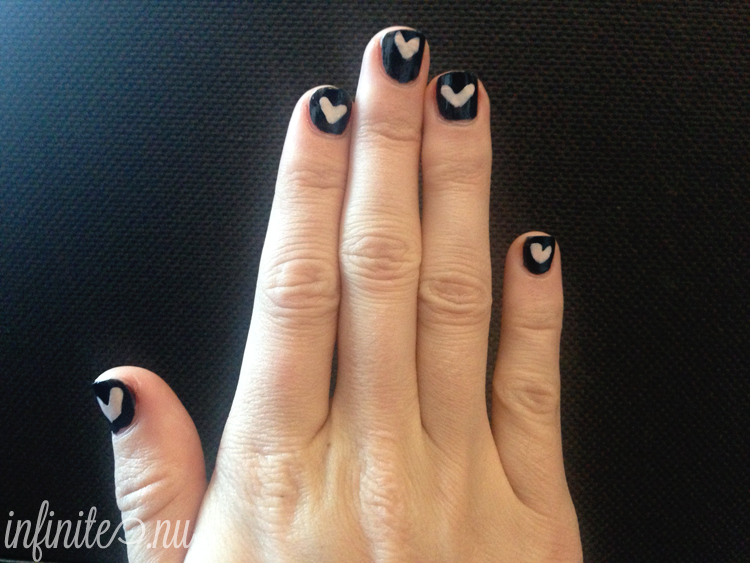
After that, some of my hearts were a little lop-sided, or off center…
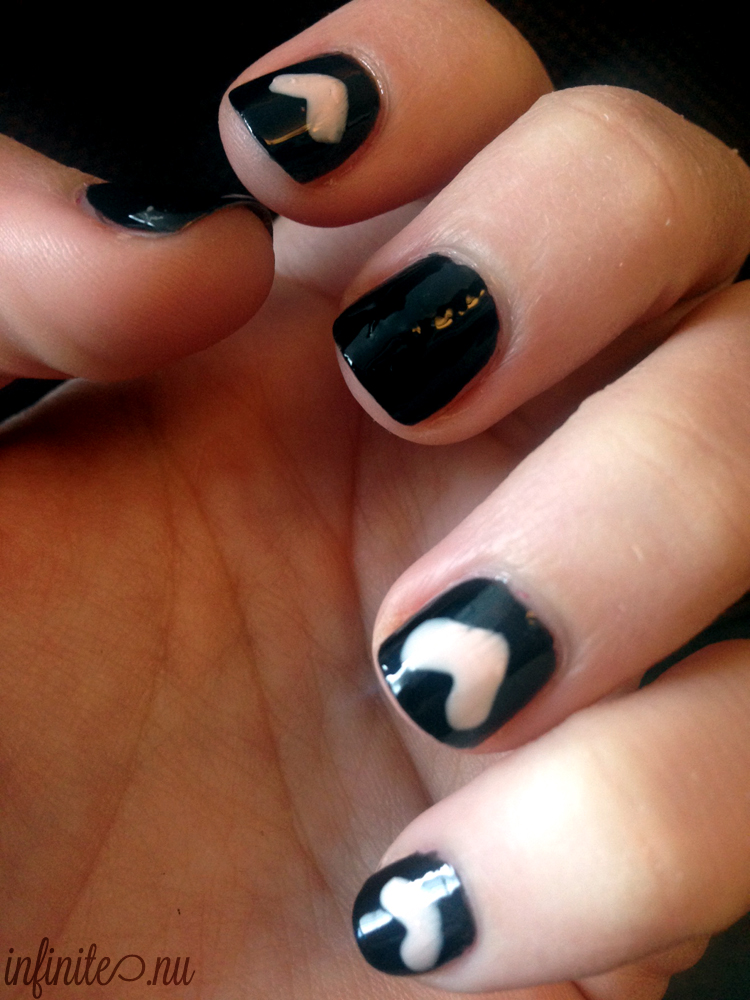
So I just painted over those with another layer of black! You can see it’s a little bumpy up close, but no-one else will notice. :)
Cleaning Up
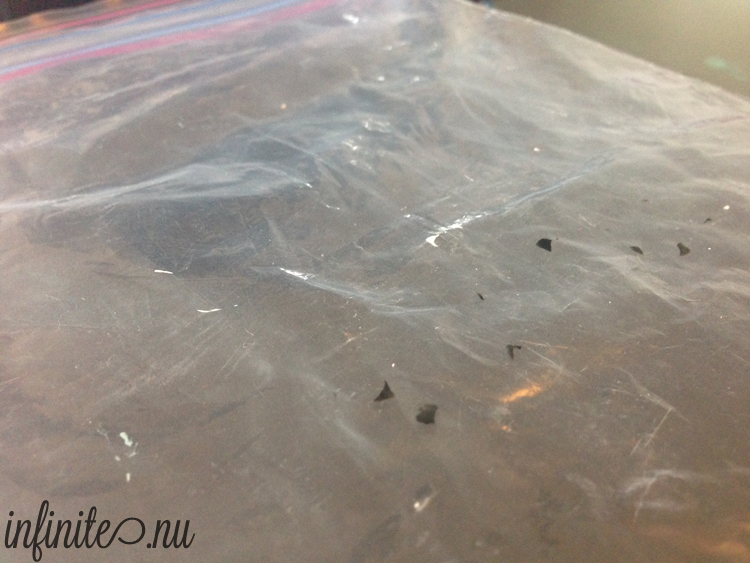
Then I just rubbed the left over hearts off the bag! Everything but the really thin layers came off and now I have my travel bag back! (I feel so cheap right now.) 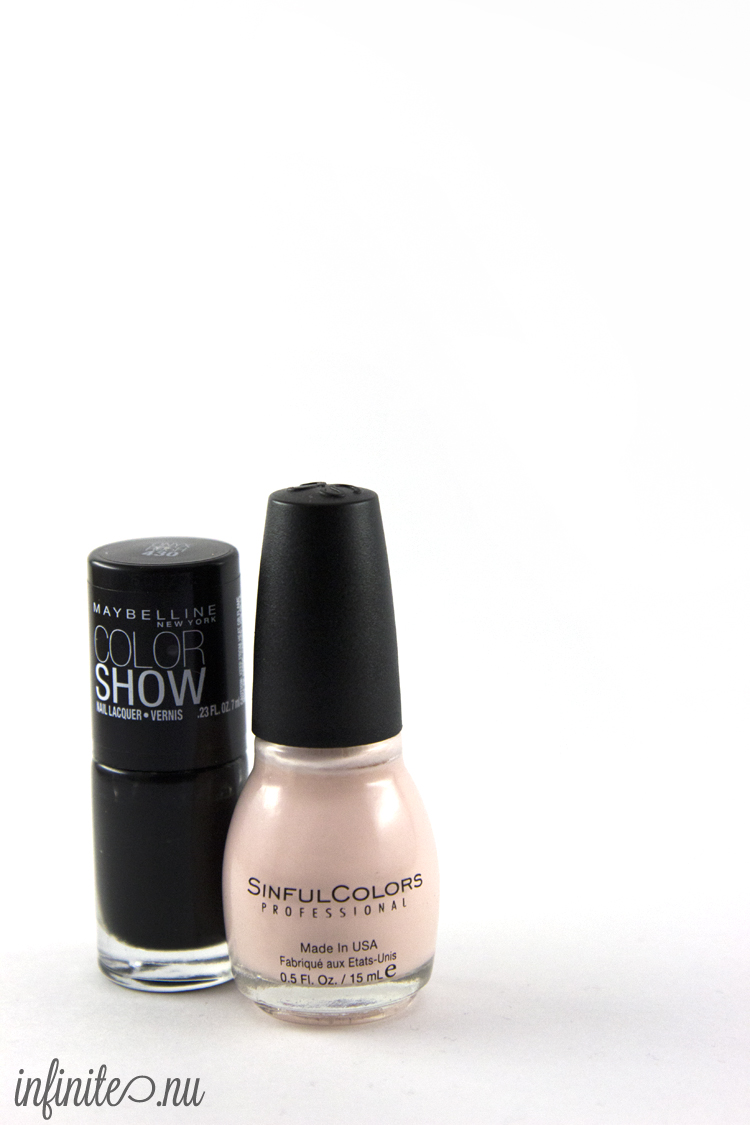
My nails were done with Maybelline and Sinful Colors. The pink came out really well and was pretty solid, even though I feared the black would show through a bunch. It was a good brand for creating the DIY adhesive nail designs. The black is just OK. Not great. It’s really thin but after a couple layers it looks fine.
Leave a Reply