First, I have to point out my standard bald area! :p
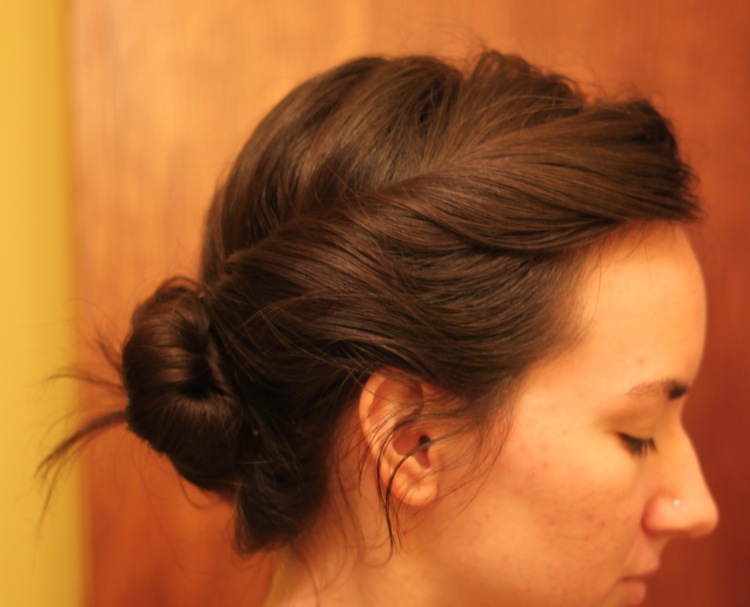
Now, let’s get on with this awesome hair style from michaelanoelledesigns! I love this style because it’s so easy, but it looks very clean and elegant. Plus get my close up out of the way. ;) Here’s the front!
It’s nice and simple, and better – it keeps stray hairs out of my eyes.
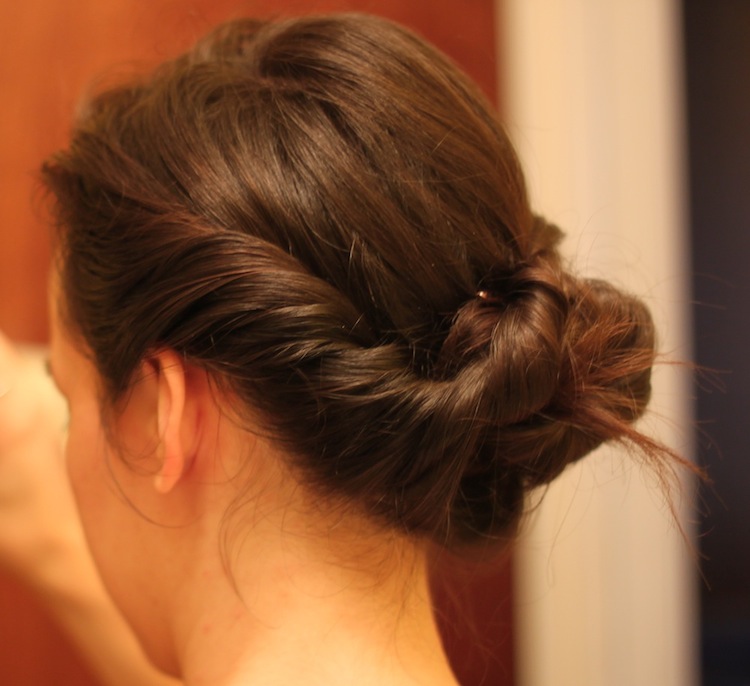
The left side had the smaller section of hair, and was the second piece I coiled. It does a weird dip, but I love the twist, and it says put all day!
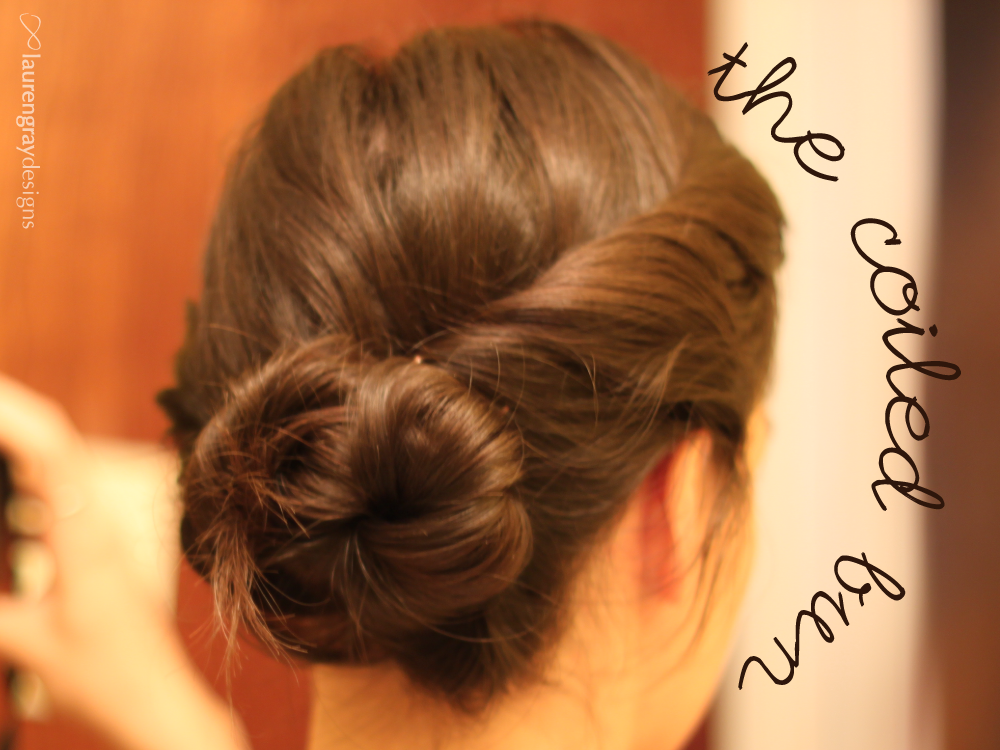
My bun was positioned at the lower right side of my head. You can see the little tufts I missed – but I like the messy pieces!
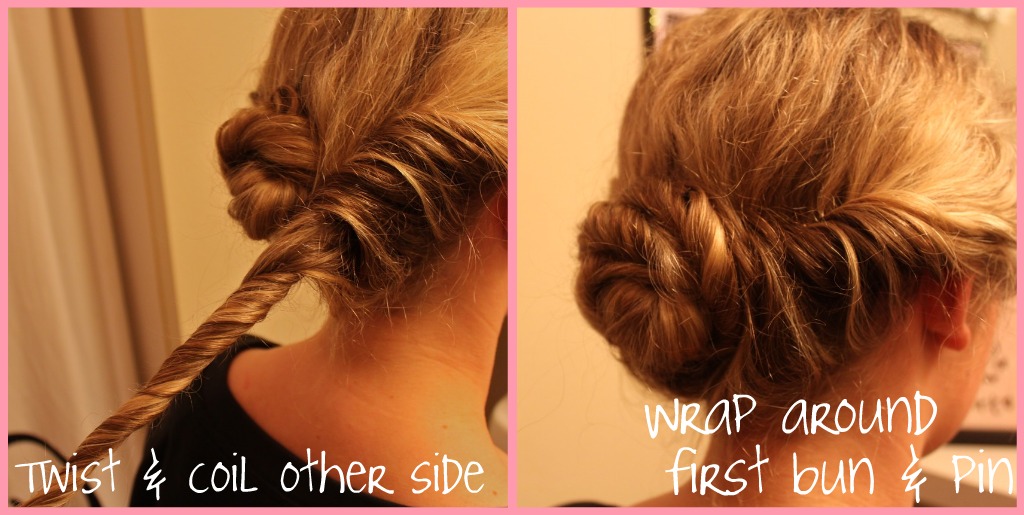
The original bun
Here’s the finished product from michaelanoelledesigns! I think I finally did a pretty solid job. ;D Below is a dressed up photo from the same post – I think it looks totally different! I kept looking for evidence that it wasn’t the same, but didn’t find any.
Things I’ve learned
- Use the thicker section as the second coil to lessen “the dip”.
- Hairspray sections just before twisting to handle fly-aways.
- Don’t fill your hair with pins! A bun can be held up with 3 pins, especially when you’re going to wrap a second bun around it and use even more pins.
- Attempt the other bun: don’t pin the first coil, but wrap the second around it and pin so it can hang loosely.
More great ideas
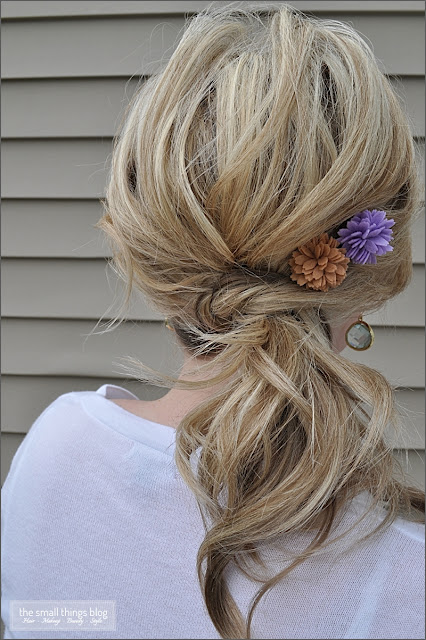
Knot Ponytail from thesmallthingsblog.
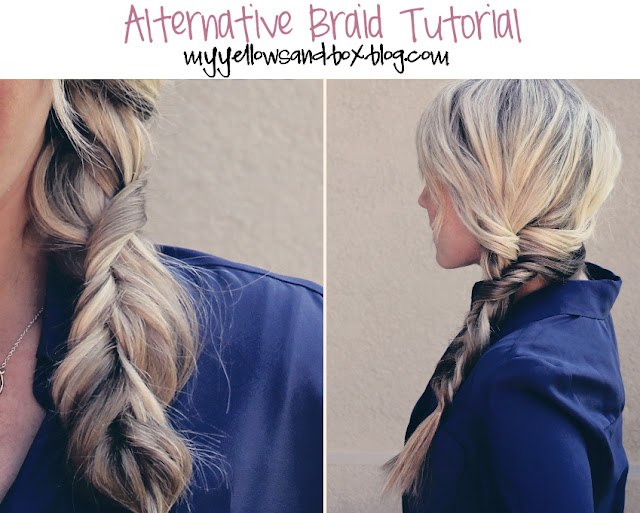
Alternative Braid from myyellowsandboxblog.
Both include video tutorials!


Leave a Reply