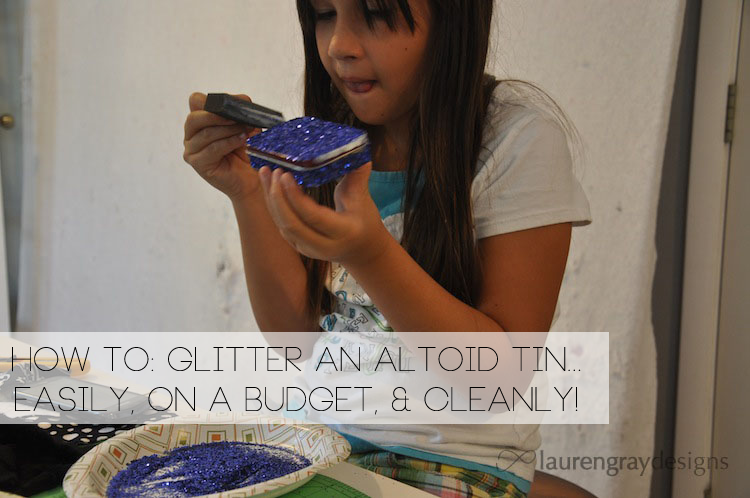
A couple days ago (or maybe a couple weekends ago), my sister saw me working on my scrapbook altoid tin and wanted to help. Being the awesome sister I am, I shared with her my plans to make a glittered version… which she loved! Thus began my adventures working with a child and glitter: “Glittered Altoid Tin” edition – and, honesty, everything turned out fine!
Here’s how we made this awesome project, on a budget, and kept everything clean.
Ingredients:
- Altoid Tin
- Glitter, 1 or more colors
- Foam brush
- Mod Podge
- Paper plates
- Sheet of paper
- Damp paper towels
Steps:
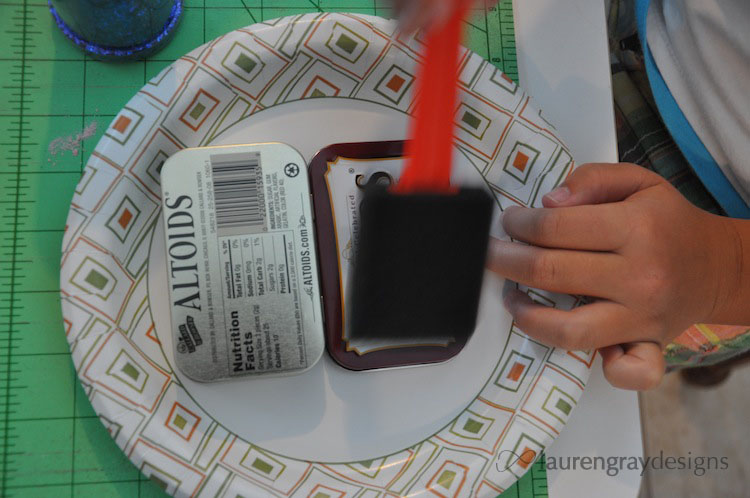
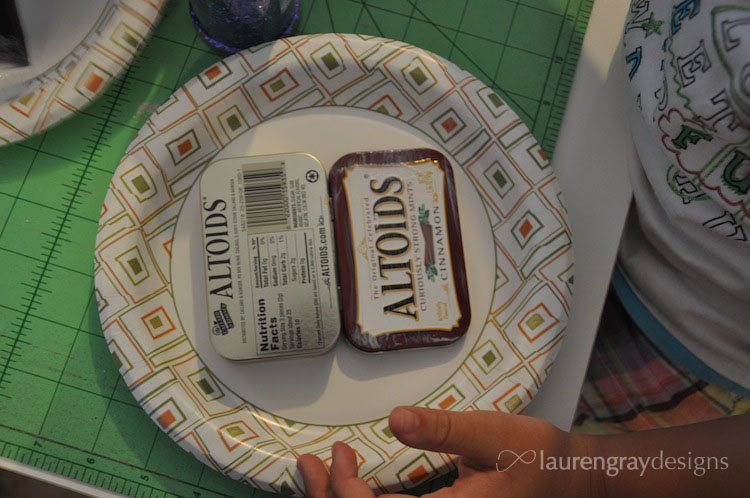
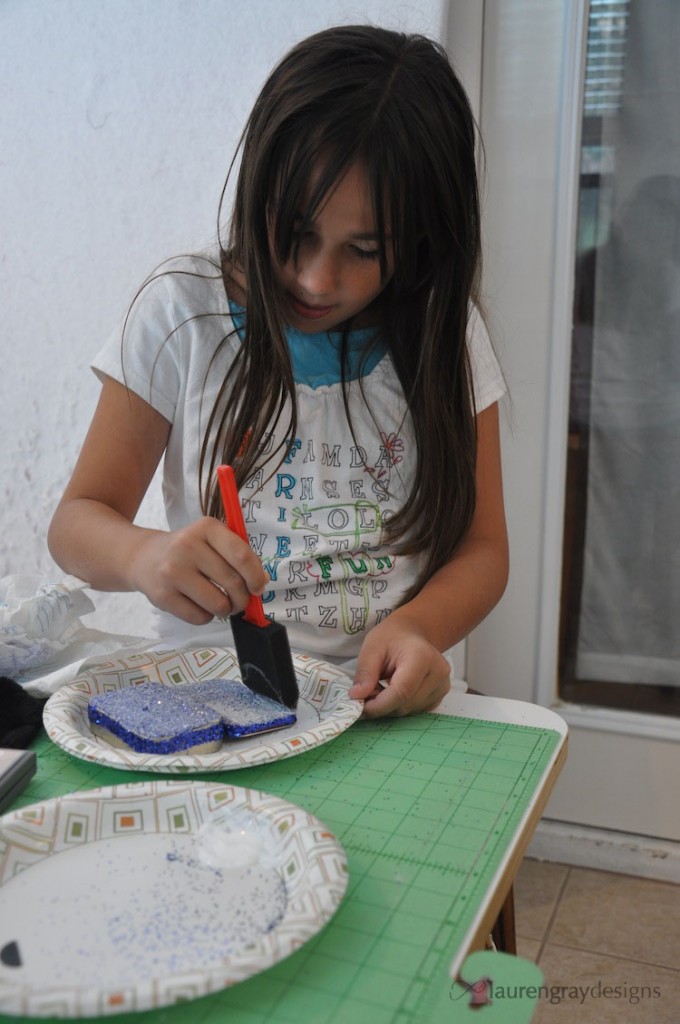
1. Open your Altoid tin on a paper plate, and spread Mod Podge across using foam brush.
(This is Mod Podge, by the way! Available at your local super market.)
3. Make sure you give the tin a nice, even coat of glue. This will give you an even coat of glitter and, if you didn’t make the glue too thick, should dry within 10 minutes or so.
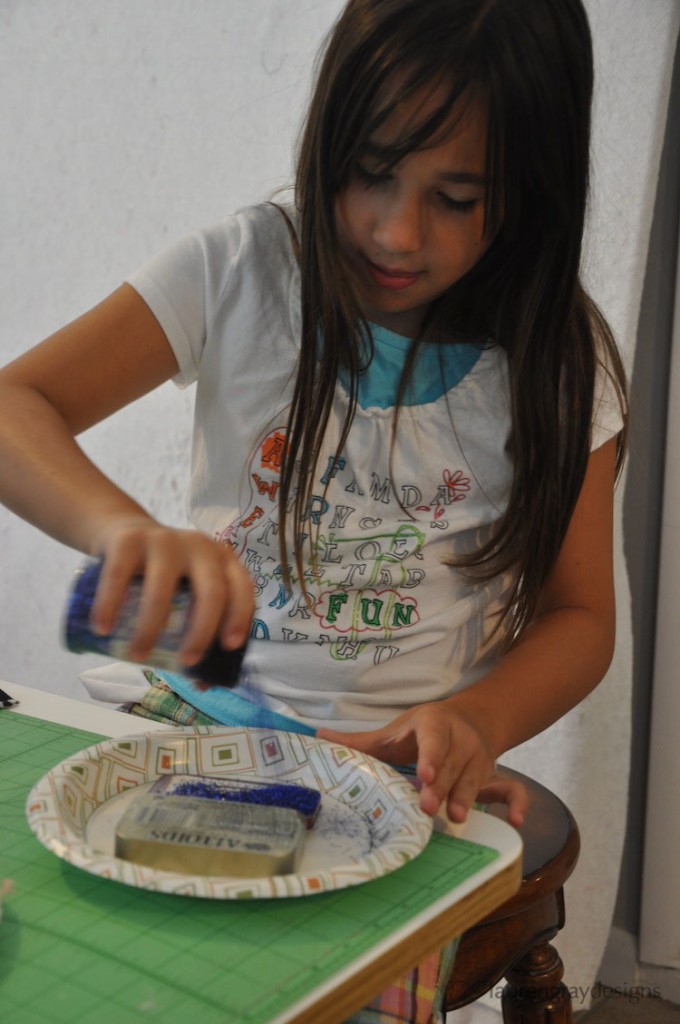
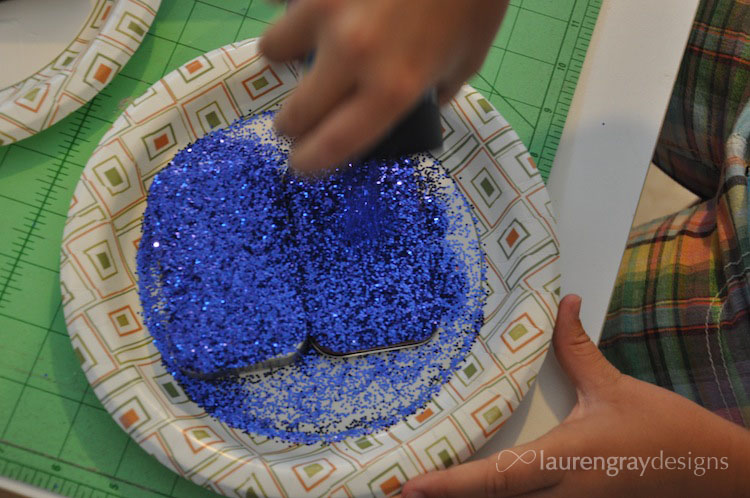
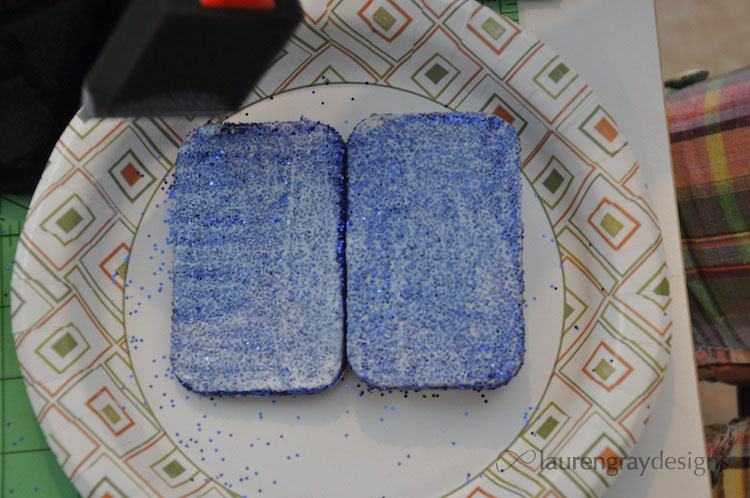
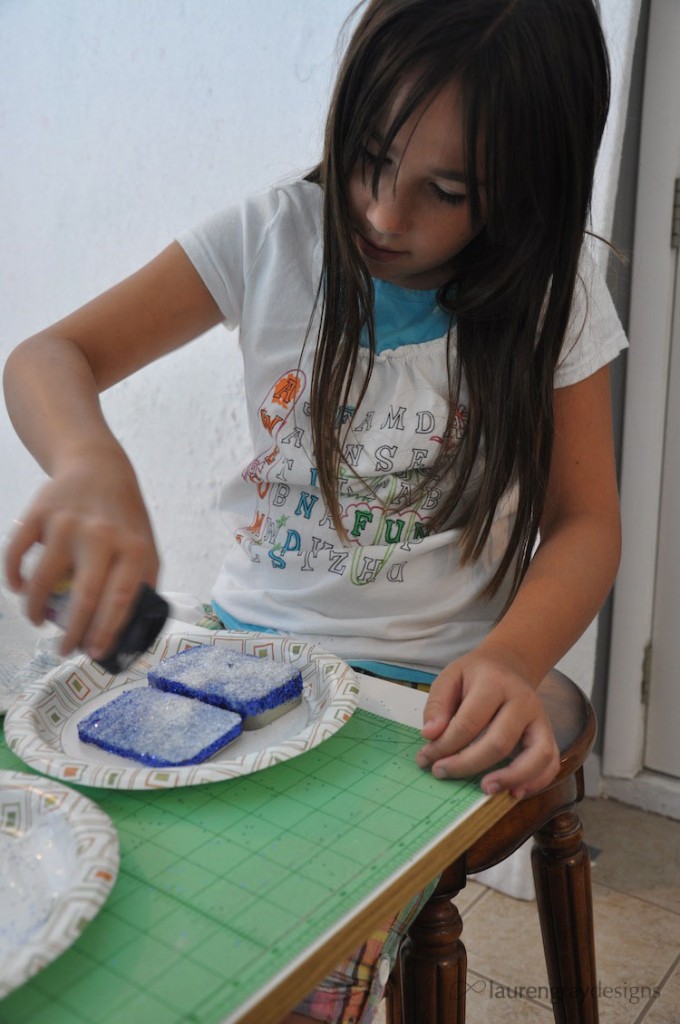
4. Go ahead and start pouring your glitter on. Try to keep it all on the paper plate! (As if.)
5. Seriously, give your tin the glitter it needs! A thick coat!
(I think this is honestly the first time my little sister has been allowed to play with glitter. Poor, deprived little child!)
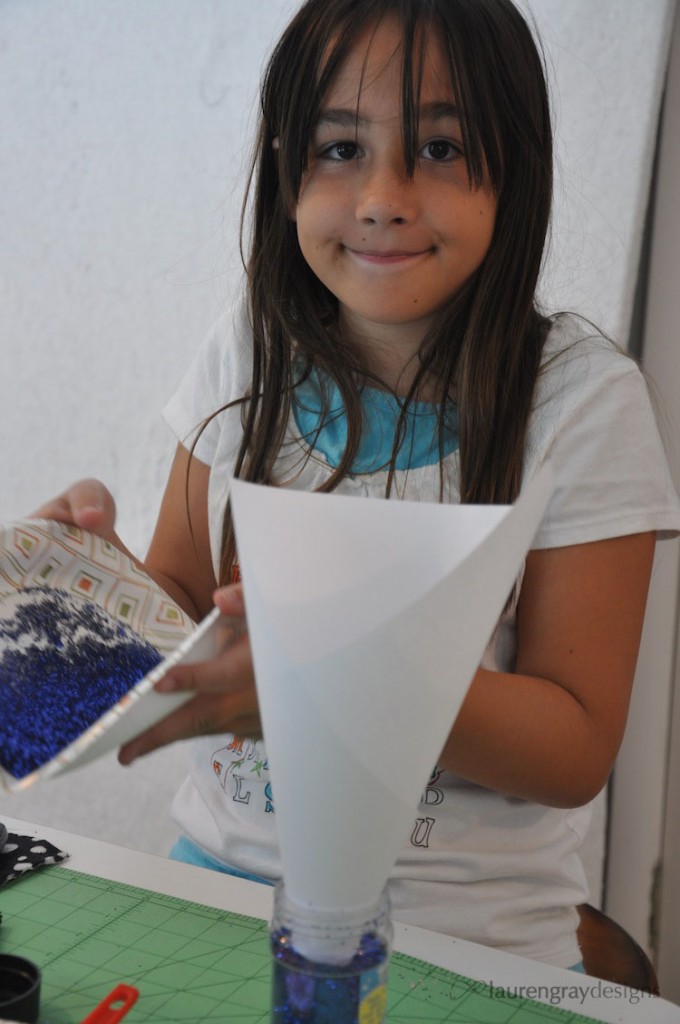
6. While we’re giving our tin a good 10 or so minutes to dry, let’s clean up our blue glitter. Roll your sheet of paper into a funnel, carefully bend your plate in half, and pour it back in! (For all that glitter we threw around, it seems like hardly any has been used now.)
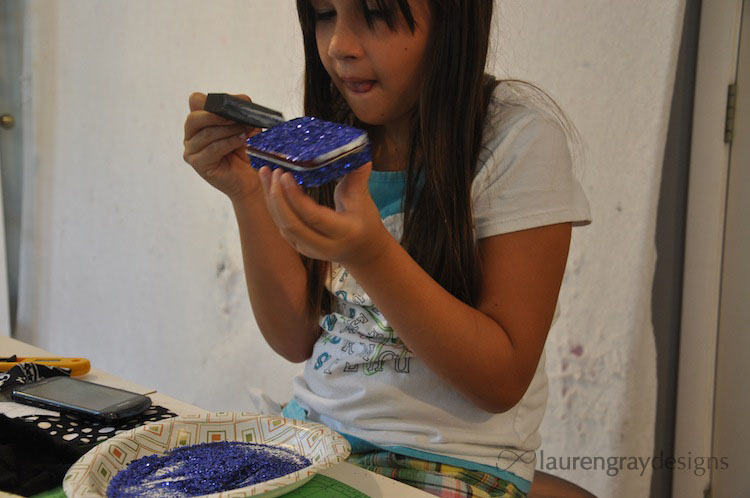
7. Holding your tin by the lid, use the same method to Mod Podge and glitter the bottom rim. Be sure to do this with the tin closed – otherwise you’ll get glitter too far up, and the tin won’t close. I’ve learned not to worry too much about gluing the tin shut – as long as you’re doing a thin layer it’s pretty easy to pry open.
8. Repeat: top rim! (*Note: you may want to let the tin dry longer than 10 minutes this round. You’ll need a nice dry place you can grip it.)
9. If you just can’t get enough glitter, add another layer of Mod Podge to the top and bottom, using the same method – tin open. This time, don’t drag your foam brush across – stamp it, so you don’t take glitter off. (That’d be the worst, am I right!)
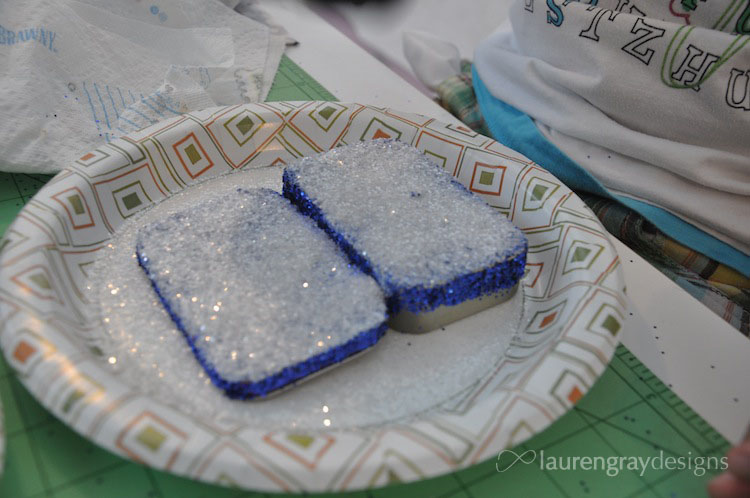
10. We added a clear/iridescent glitter on top, so we could still see the blue a lot. (Again, being generous with our glitter!)
11. For clean up this time, we poured the glitter into a plastic bag – I just couldn’t stand the thought of having even a few blue specs in my all white glitter!
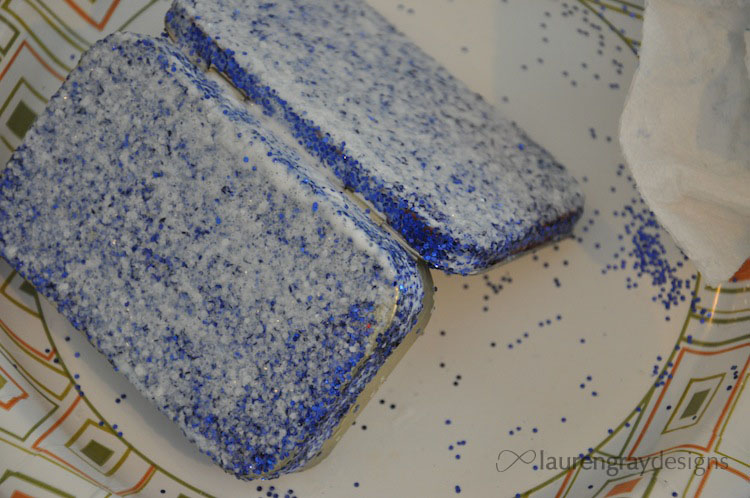
Here’s how to clear came out! You can see where Gabriella got impatient and touched her case before it was dry, or didn’t put enough Mod Podge. Love it!
If you’re working with a child, you should really have them seal the entire case. Otherwise the glitter is going to come off. I mean, honestly, we know they aren’t going to be gentle with this, as they carry it around and show it off to their friends! So,
12. Seal the tin by applying generous amounts of Mod Podge and allowing to dry overnight.
(Sure looks gross, huh?)
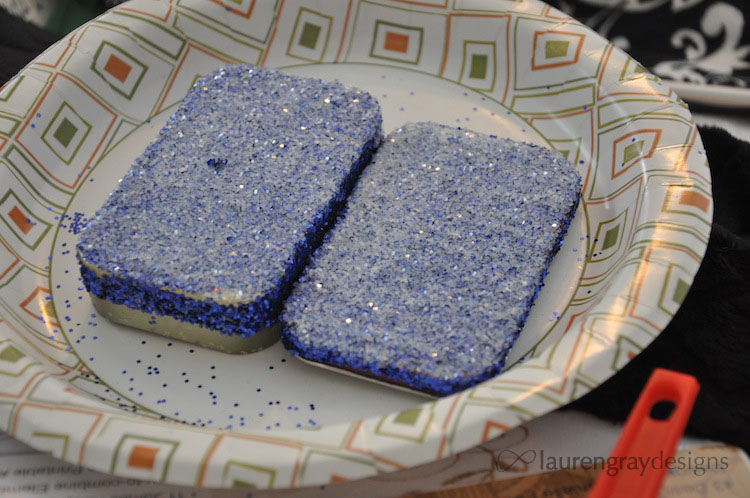
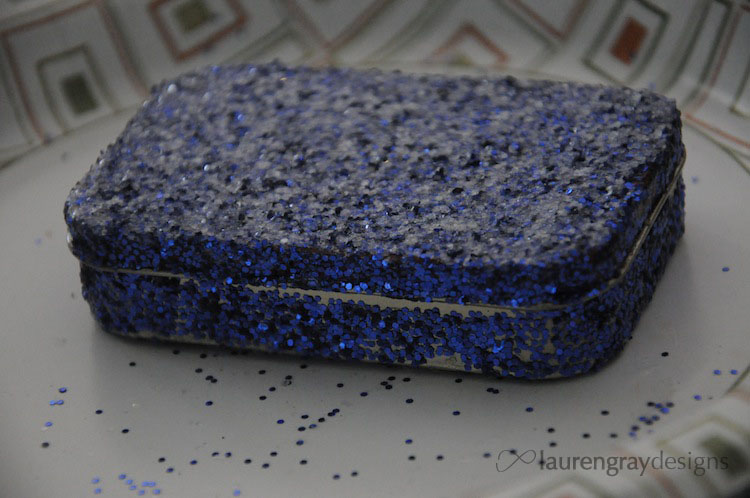
Here’s the final case. I’m not in love with the Mod Podge sealant (maybe it would have looked better if the coat had been more even?) but Gabriella doesn’t even notice it. And believe me, my mom is glad it’s on there. She already can’t believe I let Gabriella glitter anything, and doesn’t like how often Gabriella carries it around… :p
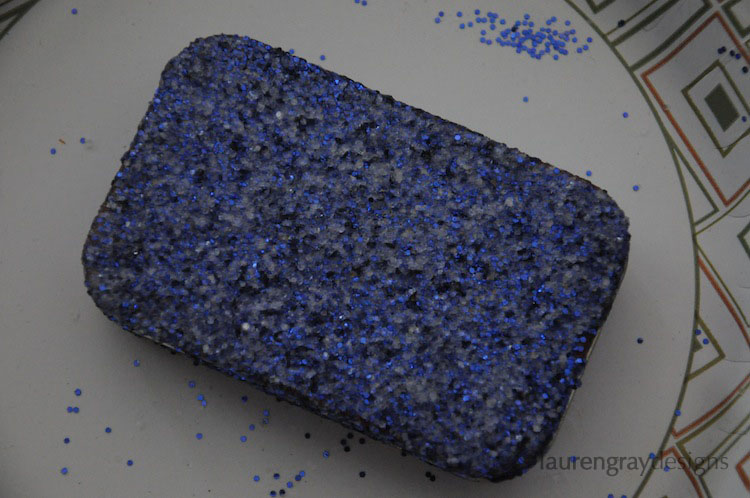
This top view makes the sealant look particularly intense. (I don’t think the crevices are that noticeable in reality.) It kind of reminds me of those tutorials where you mix the Mod Podge and glitter first, then apply to anything (or everything). I’ve never been a fan of the texture.
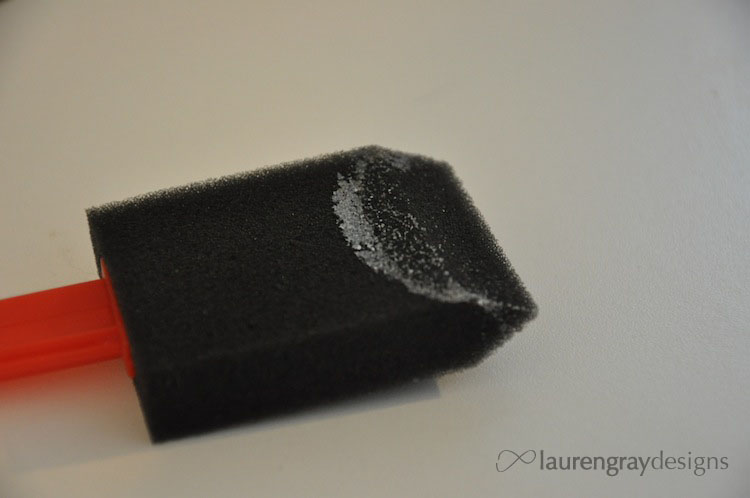
For clean up, we used wet paper towels to pick glitter up off the table (we avoided the floor, and really didn’t have a big table mess either!) and just rinsed the foam brush in the sink. It has some residue where the glue dried, but it’ll work perfectly for future Mod Podge projects!
Glittered Altoid tin on a budget
Overall, it cost us absolutely nothing to make this.
- Altoid Tin – free, from my mom
- Glitter, 1 or more colors – left over supplies (and we made sure to salvage all we could for the future!)
- Foam brush – supply cabinet
- Mod Podge – supply cabinet
- Paper plates – kitchen
- Sheet of paper – office
- Damp paper towels – kitchen
Plus, Gabriella absolutely loved the project and wants to make more already. I told her I was going to use mine as a sort-of first aid kit, so she picked out a bunch of bandaids to put in it (and some bandaids were so large she had to fold them into fourths! I thought “who would need a bandaid that big casually??” …and then I remembered all the trouble I got into as a little girl). I’ve informed my boyfriend that Altoids are his new favorite breath mint, and might even serve as a delicious snack-time candy. I bet she’ll want to start selling them on Etsy too, that little entrepreneur!
We did two colors of glitter, one on top of the other, but I think it’d look pretty cool if someone could find the patience to create glitter stripes, or even a more complex design.


Leave a Reply