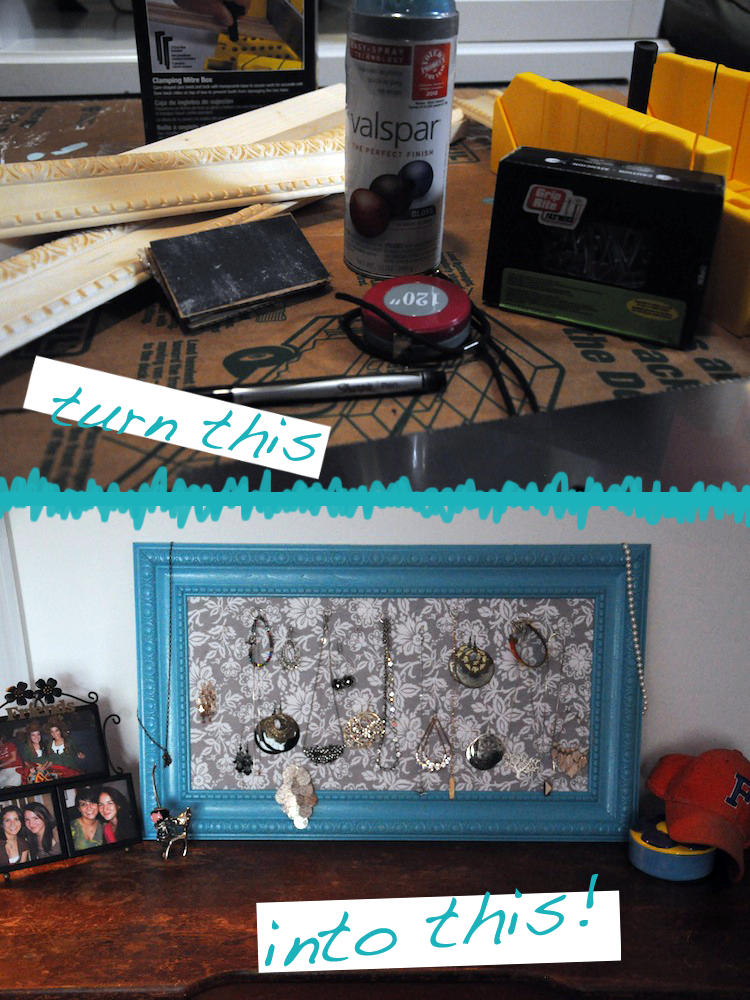
So, call me lazy, but I’ve only worn jewelry just over a dozen times in the last year. Why? Because it has all been sitting, tangled, in a bag ever since I moved into this apartment. Which was a year ago. Almost exactly. (To be completely honest, I only unpacked the last moving box this week.) I have my priorities elsewhere, OK? All the same, I’ve been ready to finally get it organized. So I combined all my favorite ideas to make exactly the piece I was looking for: this DIY Crown Molding Jewelry Frame. And completely winged it!
Supplies:
- Crown molding $16
- Spray paint $4
- Mitre box + saw $16
- Sanding block – made
- Writing instrument – owned
- Measuring tape – owned
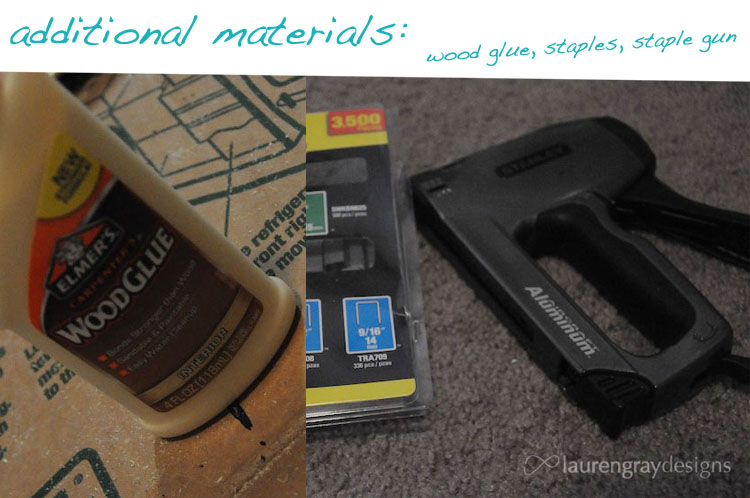
- Wood glue $4
- Staple gun + staples – borrowed
- Fabric – $7 (bought 1 yd & had extra left over)
- Batting – $15 (bought a bag & had extra left over)
- Optional: jewelry hooks – owned
- Optional: need & thread – owned
Total Spent: $62
*Price will vary depending on what supplies you already own! Additionally, crown molding prices will vary depending on style and length. I purchased a piece that was 8 feet long and fairly detailed.
The Short Instructions:
- When buying your crown molding, get it cut in the wood section. You need two pieces of one length, and two of another length.
- On each, measure and mark the same length, just a little inside each.
- One by one, line these marks up with the 45 degree angle in your mitre box and cut away! Pay attention to which direction you’re cutting your angles!
- Sand down the edges.
- Lay out your pieces as desired, and number the back so you remember which pieces are pairs.
- Now, holding the two pieces back to back, sand them as flat as possible together – this will ensure they fit together snugly.
- Follow the directions and use wood glue to connect your frame. Use a wet paper towel to clean up excess glue.
- Allow to dry for a minimum of 30 minutes. After that it’s light enough you can handle it carefully.
- Spray paint, using about 3 light layers.
- Allow to dry overnight.
- With your frame upside down, place your fabric print side down and two pieces of batting on the back. They don’t have to line up perfectly or fit well, we will just cut them down to size once we’ve stapled it on.
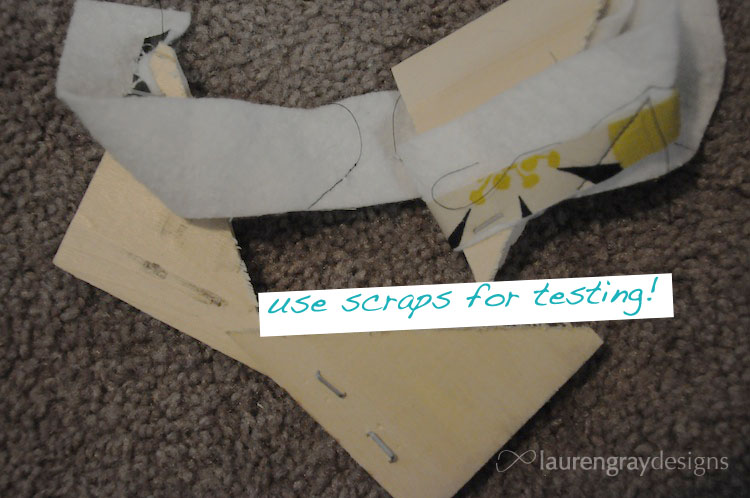
- First, test your staple gun, and staple sizes, using the scraps you made. Ensure the staple gun doesn’t cause splintering, or pierce into the front of the board. Make sure you know where your crown molding is thick enough to staple through.
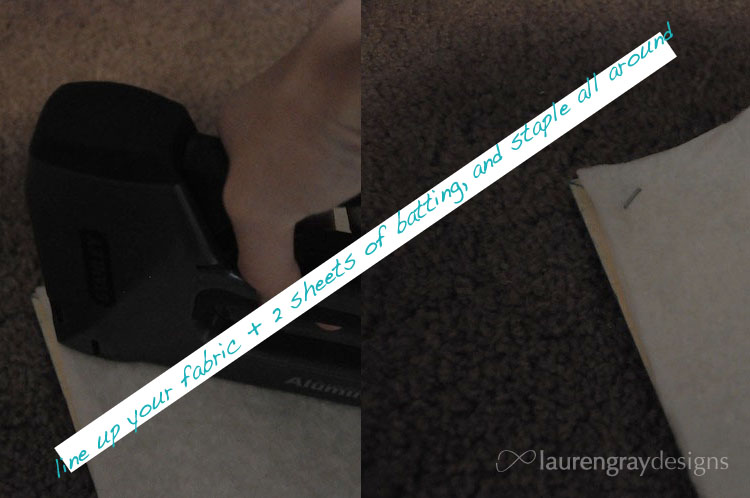
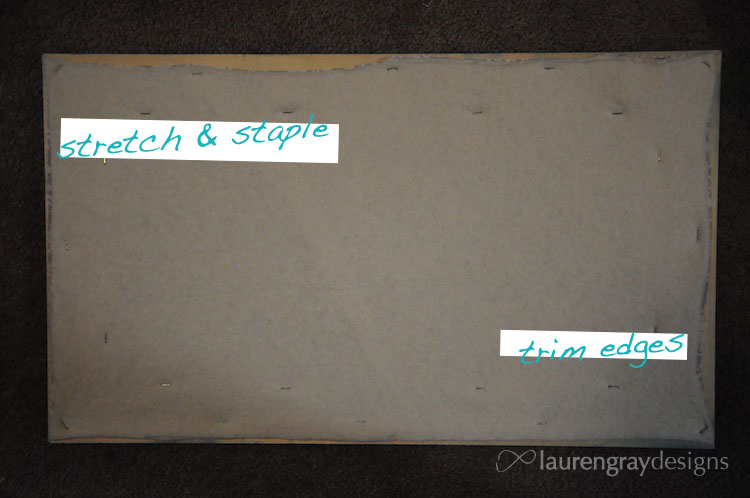
- Go ahead and staple all around your frame, being sure to pull your fabric and batting taut (& do so carefully)!
- Trim down your fabric so there are no pieces seen from the front.
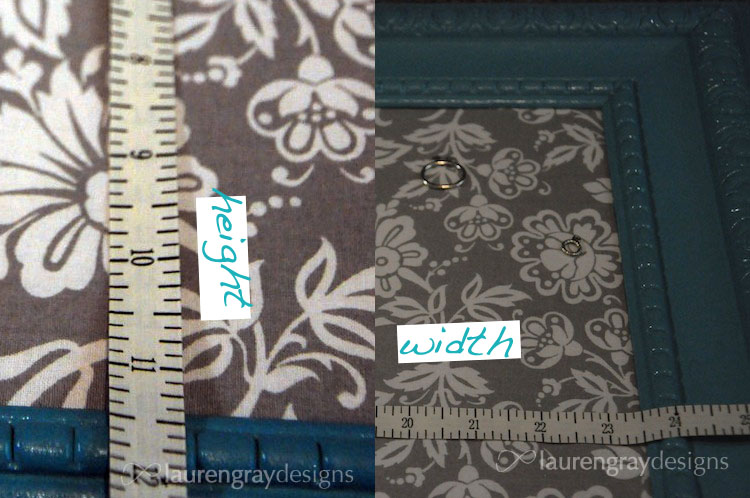
- Optionally, measure your product and space jewelry hooks equidistant from each other. Sew into place using needly and thread.
- Drape your necklaces off the corners or thread through your jewelry hooks.
- Push earrings through your fabric and batting – I used a needle to create the first holes for the earring to follow. Once they stretch the fabric a little, you’ll be able to remove and put them back much more easily!
- ENJOY! :)
The Long Instructions (with pictures!):
First things first, go buy your supplies! If you’re lucky, you already own a bunch of tools & supplies, so you only need to get your crown molding – which you more than likely don’t have lying around.
When buying your crown molding, get it cut in the wood section. You need two pieces of one length, and two of another length. I wanted my frame to be approximately 5:3, so I took 8 feet, converted it to inches, and found the lengths I could get to achieve this ratio: 30 inches and 18 inches.
Tip! Note that the inside of my finished product was 6.5 inches smaller each way – due to the depth of the crown molding and the lost length when cutting 45s or sanding.
The wood section won’t cut 45s for you, so this was probably the most daunting part for me. After talking to an employee, I bought a mitre box. It isn’t perfect, but we’re going to use a sanding block to fix those flaws.
Tip! When buying your crown molding, make sure it isn’t too thin – you’ll be pushing staples into it later, so you’ll need thicker areas – preferably toward the inside of the molding.
Not pictured: the wood glue and staple gun I realized would be beneficial. I returned the nails I bought originally in favor of the wood glue, and borrowed the staple gun from campus. For my frame, I used the smallest staples in the variety pack: 1/4″, 6mm.
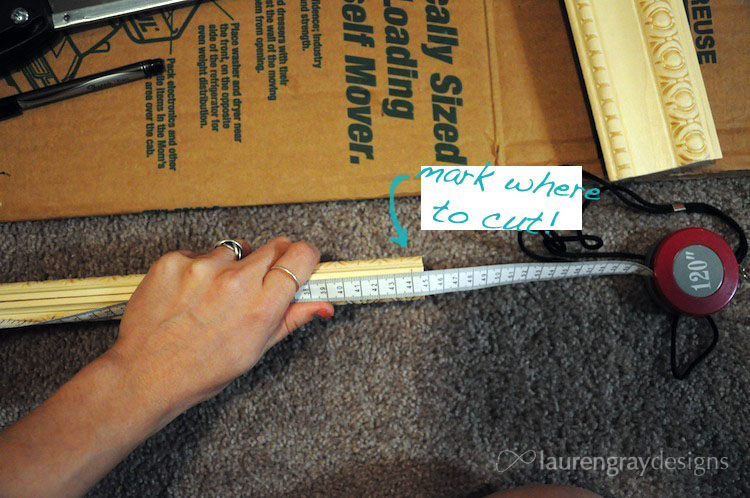
OK, let’s get to work! On each pair of the same length, make a mark a little inside each edge. The length from mark to mark should be the same. If it isn’t perfect, you can sand it down later – it’ll just be a little more work.
These marks are going to show us where to line up our crown molding in the mitre box.
Tip! Make your mark on the top, or outside, of the crown molding. This will allow you to line the mark up with the mitre box more easily.
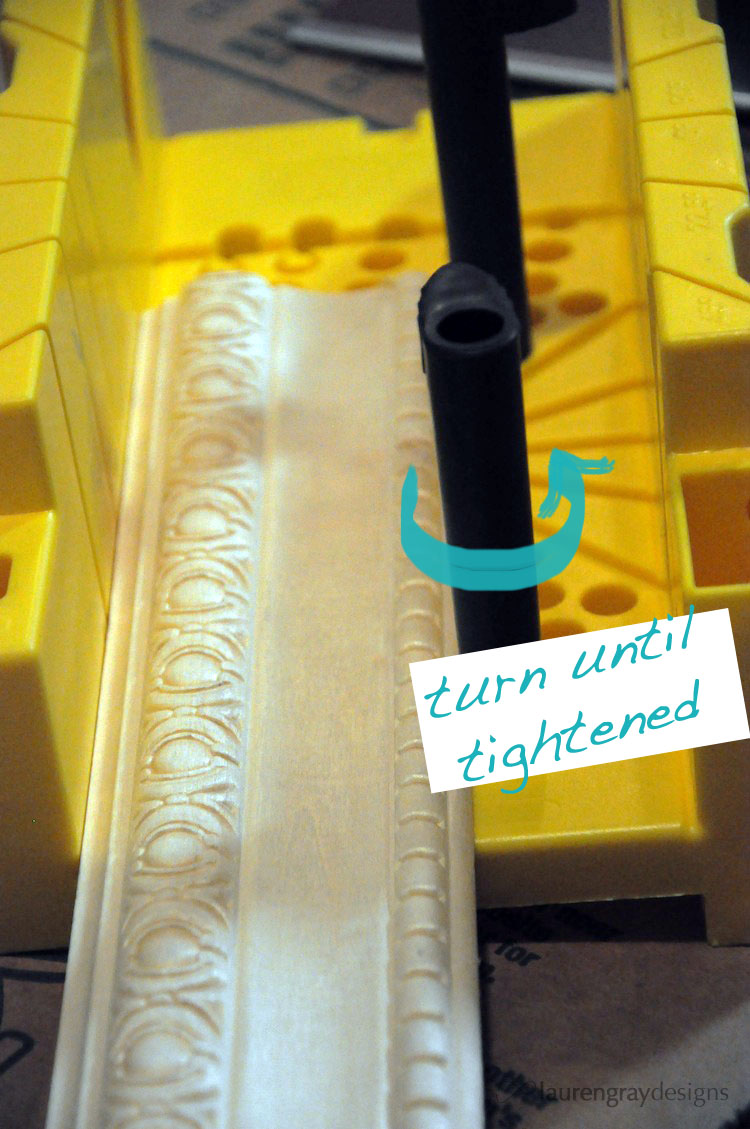
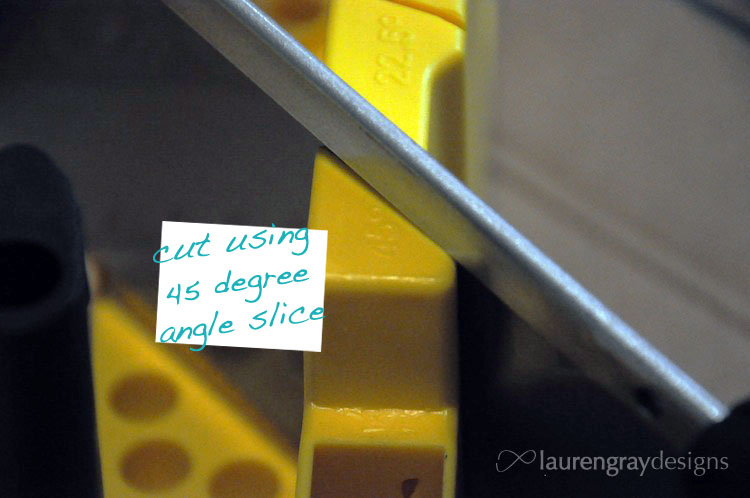
So go ahead and line your mark up with the 45 degree line in your mitre box. Your mark should push up against the box, to allow you to be as accurate as possible. Turn your pegs so the thicker portion pushes against your crown molding and holds it in place.
My molding fell in an awkward position where only one peg was really effective. I had to be extra careful and hold the molding in place.
Place your saw in the 45 degree slit and cut away!
TIP! Be sure to pay attention to the direction of your angles! Remember that these need to fit together, so the top edge should always be longer, and the lower, inner edge shorter.
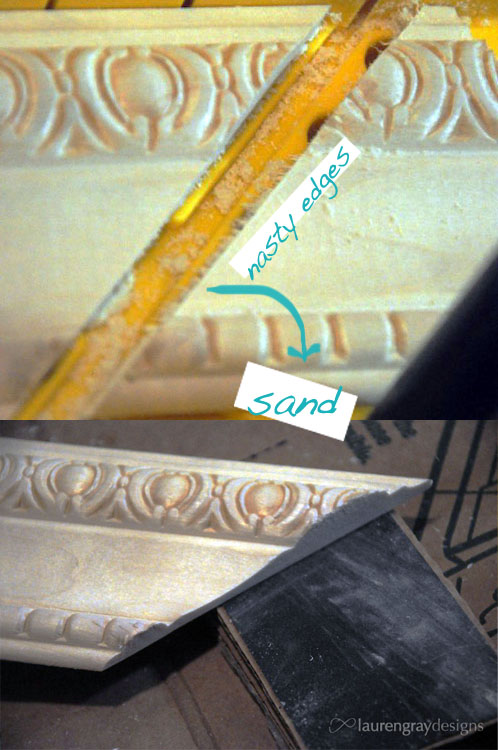
We’re using an imperfect mitre box with a hand saw, so expect small mistakes and rough edges. Go ahead and sand it down a little.
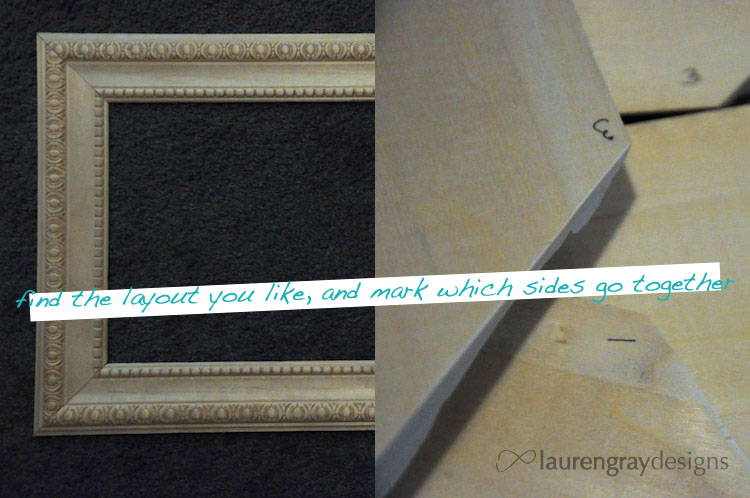
Now lay your pieces as desired, and number the backs of each corner so you know which pieces are pairs. Each of your pieces should have a number at each end, corresponding to a number at the end of another piece.
Tip! If you made one of your pieces a little too long, this is where you’ll want to sand it down more, until it’s the right size. I held the two pieces of same length together and sanded them down to the same size.
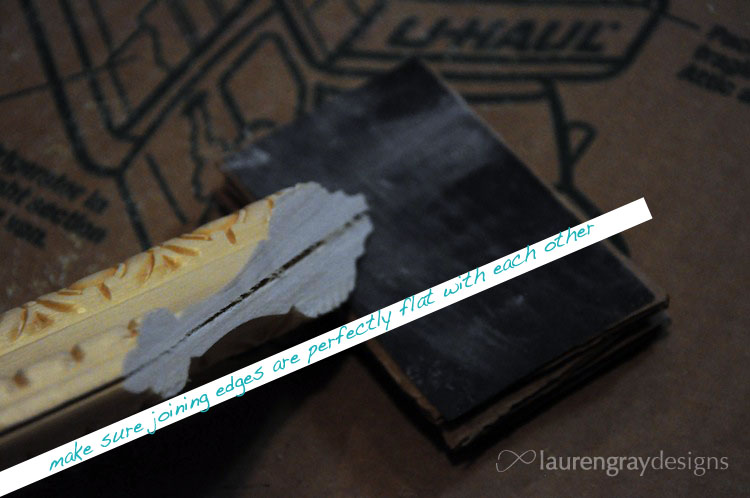
Holding pieces with the same number back to back, sand them both together. Make them at flat as possible to ensure they fit together snugly.
Use wood glue to assemble your frame. Since I don’t own clamps, I just held each edge together for a couple minutes until it set a little, then moved on to the next corner (carefully). Use a wet paper towel to clean up excess glue.
Allow to dry for a minimum of 30 minutes. After that, it’s light enough you can handle it with care.
Tip! The pieces may seem awkward when gluing them together. I’d practice holding them together before you put on the glue to get an idea of how to hold the pieces. For me, they slipped easily and felt wobbly.
Spray paint, using about 3 light layers and allow to dry overnight.
Tip! Be sure not to get too close. If you do, you’ll notice pooling of paint. While it’s still dry, just wipe the area clean and retouch.
Now that our frame is done, let’s start working with the fabric. With everything facing downward, layer as follows: frame, fabric, batting, batting. I lined two edges up, and let all the rest hang over the other two sides, just in order the save materials.
Before you get crazy, make sure you know what you’re doing. Test your staple gun, the size of the staples, and where they’ll fit without showing on the front. I used some scraps to get a feel of what it’d actually be like – frame, fabric, and batting.
One thing to particularly pay attention to is how to how the staple gun, especially if you haven’t used one in a lot of projects (like me)! Be sure you’re pressing it flat against the material, and holding it there when you pull to release the staple. Often I found I was pulling away at the same moment, which wouldn’t set the staple properly.
Once you feel prepared, start stapling all around the edges! I had a thick section toward the outside of the molding, so I started there. However, when I felt the fabric from the front, it wasn’t as tight as I’d have liked – because it wasn’t secured towards the inside of the frame. So I found a thick enough spot here, and did a second round. (See why I mentioned it earlier, during materials?)
Tip! Be sure to pull the fabric taut before stapling, almost feeling as if it’s too much. This ensures you have a strong back for hanging your jewelry. (Similarly, that’s why we used two layers of batting!)
Trim down the fabric so no pieces are seen from the front. The outer rim of staples provides the perfect line for this.
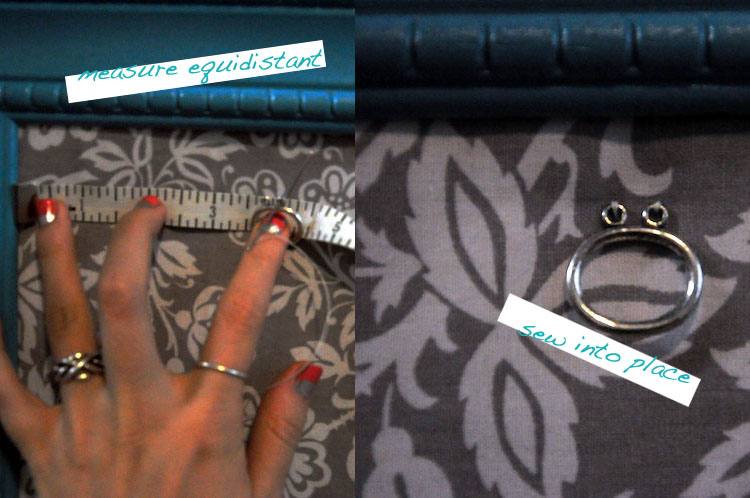
Optionally, you can measure the width and height (mine was 23.5 x 11.5) to determine where to place jewelry hooks. And I’m just now realizing that word might have been a poor choice. By ‘jewelry hooks’ I mean the clasps you buy when making jewelry. I had a few different kinds left over from an old project, so I was repurposing mine!
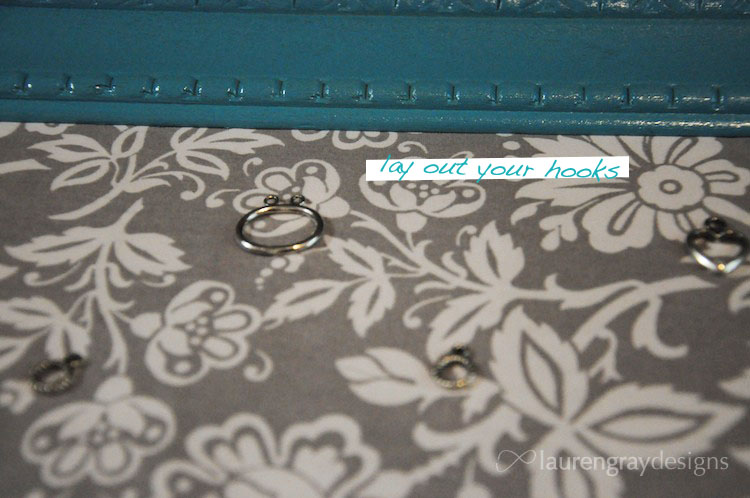
Lay out your hooks. That’s why I measured my frame – so I could place them equidistant.
Then, using just needle and thread, sew into place. It felt a little awkward working with the fabric because I was worried if I pushed on it I’d stretch it, but I’d done a pretty good job – so it was nice and sturdy.
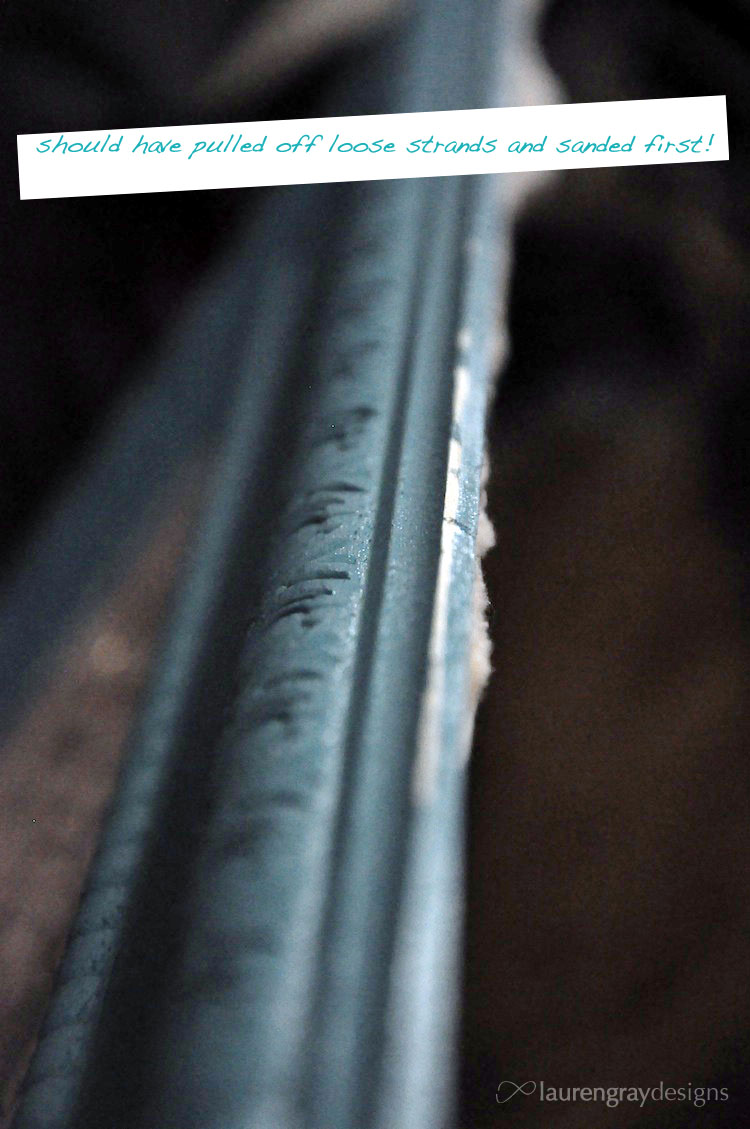
Here’s a mistake I made! If your molding is fraying or rough, pull those pieces off and sand before spray painting! After, it really isn’t an option. (Or, just don’t get picky and start pulling them off later!) Mine looks fine – it isn’t noticeable and when I hang it it’ll be too high to tell. But I want to save you the trouble. ;)
Now, populate with your jewelry! Drape your necklaces off the corners or thread through your jewelry hooks. (Or both!) Push earrings through your fabric and batting – I used a needle to create the first holes for the earring to follow. Once they stretch the fabric a little, you’ll be able to remove and put them back much more easily!
Let me know what you think of this ‘DIY Crown Molding Jewelry Frame’, if you try it, how it works out, or what I could clarify in my instructions!




Leave a Reply