I’m not sure why I enjoy doing hair tutorials so much. I have to be honest, I don’t actually bother to do my hair that often. I think it might just be my purple walls. Taking photos in front of them is fun! They sure are cute, huh? In fact, this is a different wall than my Rainy Day Bun Photo Tutorial. I have multiple purple walls. OK, had. I’m out of that old apartment! So here’s my latest and greatest: 3-minute all-day hair twist!
Materials
I do this with the help of my $3 hair accessory from Amazon (shipped free, Kristofer has a Prime account).
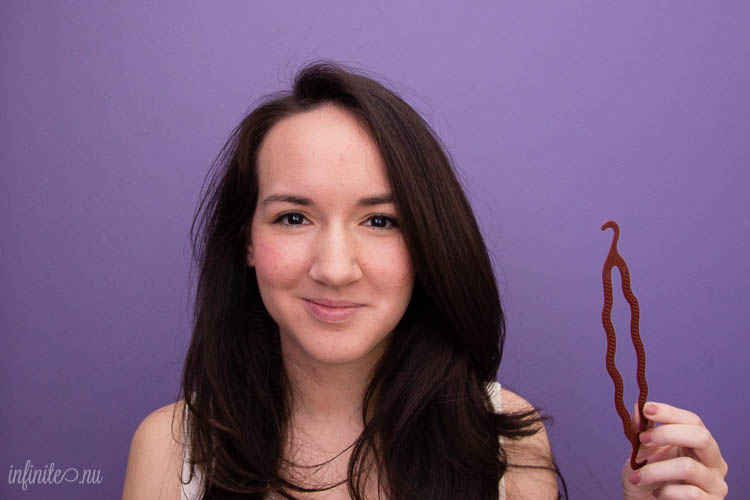
Instructions
I love this bun because it instantly gives me that messy look, but keeps my hair up all day. It’s easy (once you’ve made about 3 initial attempts) and quick. Plus, I like it better than the sock but because it a) puts less strain on my hair and b) is way easier for me to use, even with my layers.
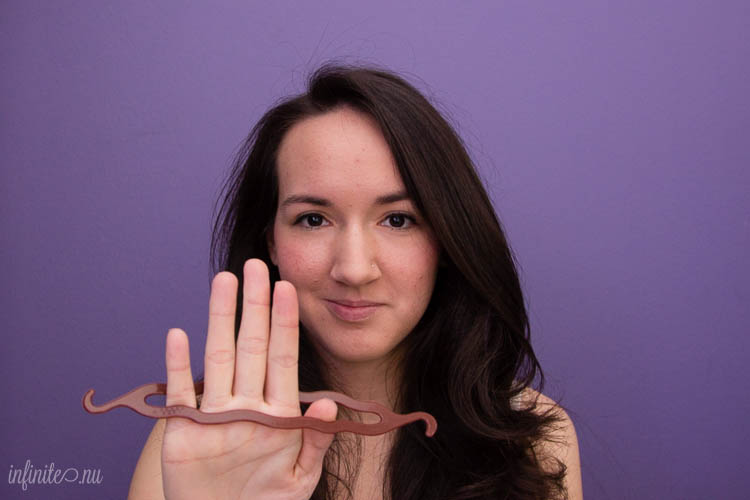
Start by wiggling your fingers into the contraption. When you first get your hair twist tool and it’s super stiff, this is more difficult. I find it doesn’t really matter which way the grips on it are facing, but by habit I have them facing toward me when my hand goes through.
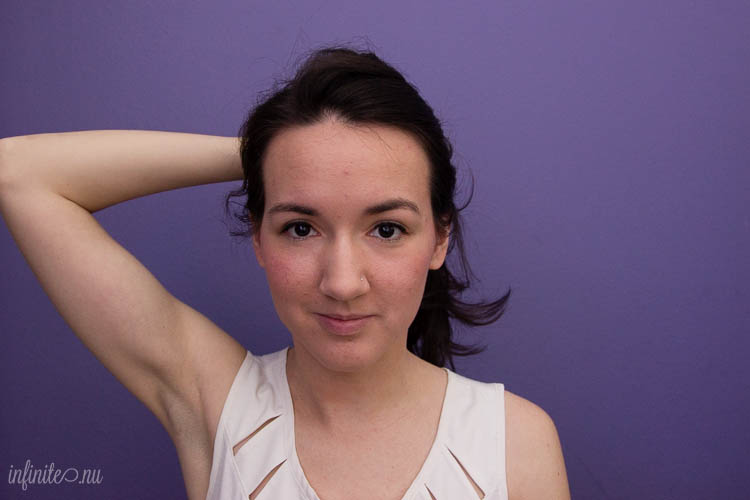
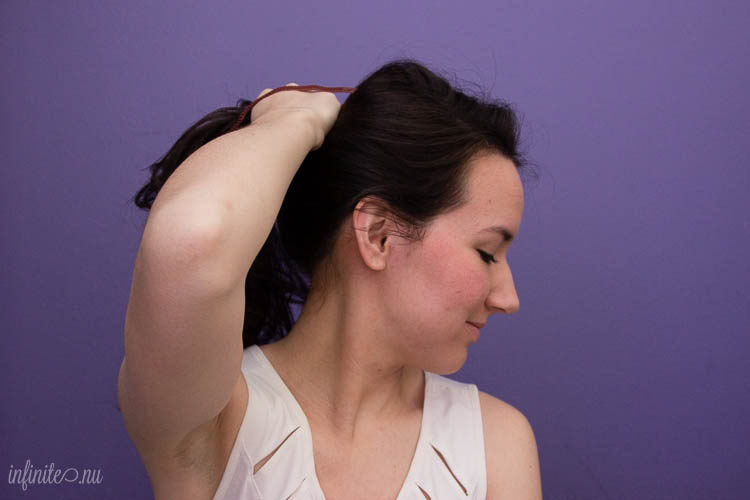
Grab your hair into a ponytail and pull it through the tie.
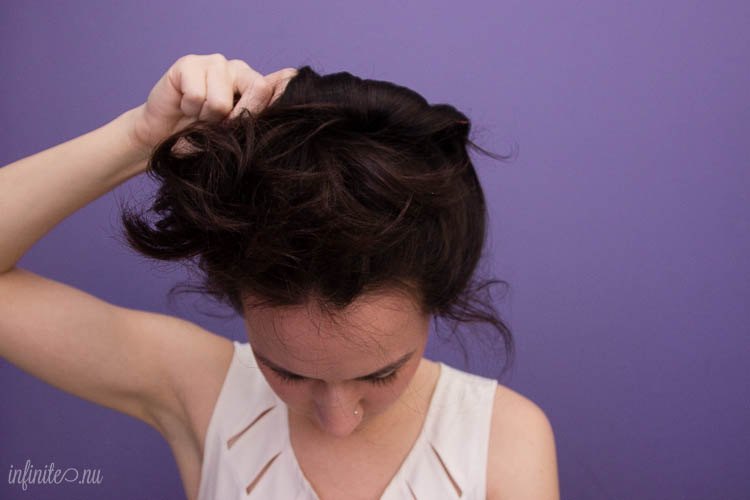
Now, twist the tie once upward, so that it better catches your hair.
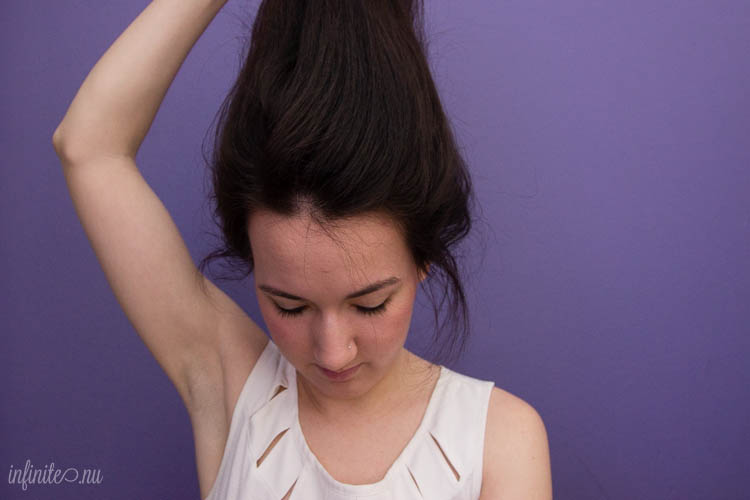
Pull the piece backward, taking care to keep the ends of your hair toward the center.

To make sure I don’t lose any of my layers, I usually stop a little before the end and just tuck the tips into the bun as I roll it. (If you have layers, you’ll see what I mean about needing to stop early.) Roll all the way in, pull it downward into a circle, and clip the hooks on either side together. Despite my efforts, I usually lose a piece! I try to make sure that lost piece is on the side my bangs fall to, so that at least it looks a little more natural.

Then I’ll grab a bobby pin and twist that strand around the bun, pinning it underneath. Depending on my mood (and how the bun came out) I’ll let it hang closer or looser. If the other side has fly-aways, grab those up with a bobby pin, too.
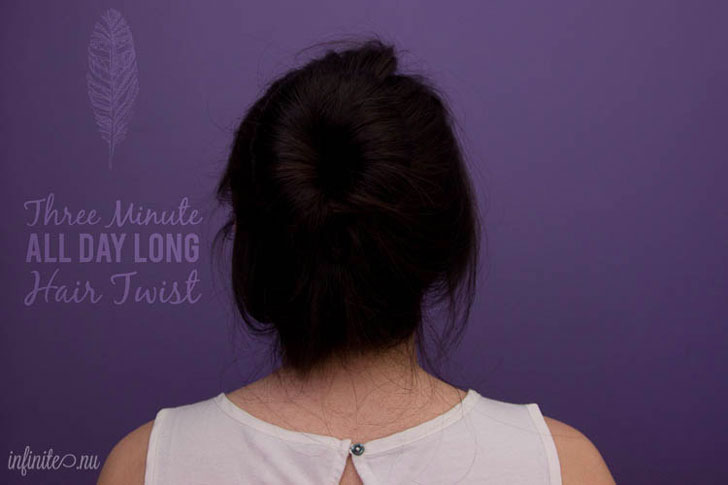
Final Product: Quick, long-lasting hair twist

That’s all! Here’s the back, too:
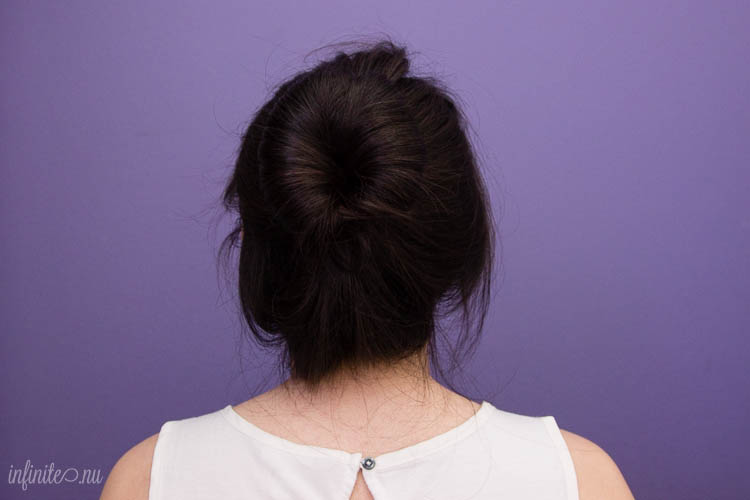
The pictures on Amazon have an example where the hair twist is rolled under the ponytail and clipped together upward, but mine still just looks like the same when I try that. If I can figure it out, I’ll share!
Leave a Reply