Internet, you only love me for my rainy day bun photos! But whatever, that’s cool, as long as we forget about those awful first photos. Alright? So I’ve gone out of my way to make a better photo tutorial, and I hope we can just move forward from here. ;)
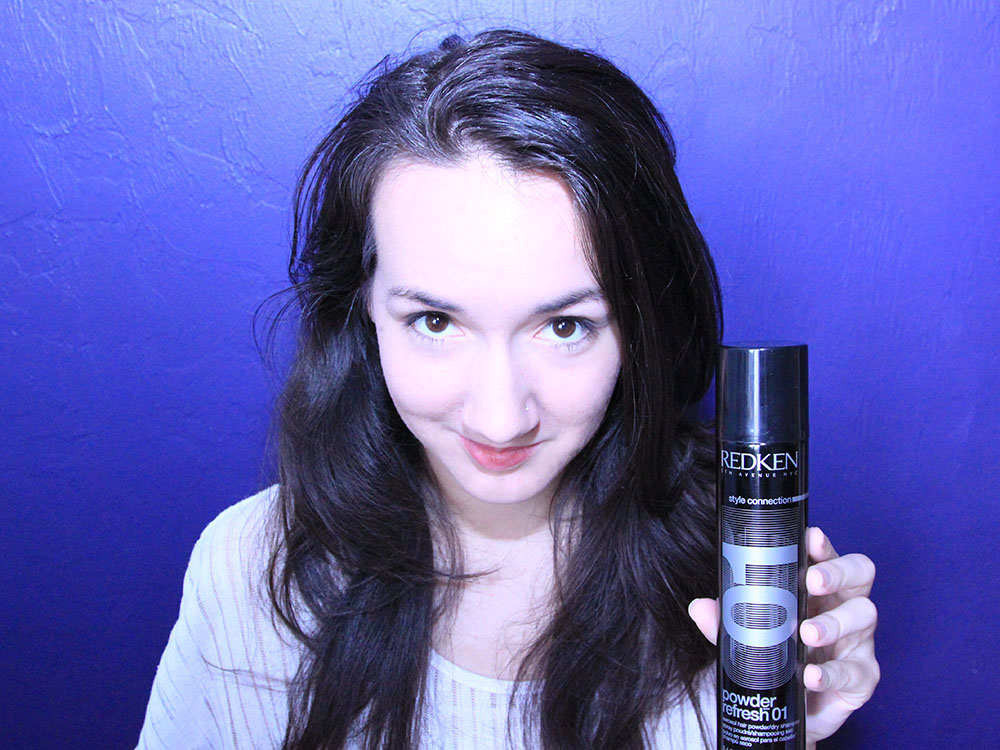
So here we are. Hair is lookin’ pretty stanky, you know the forecast says rain, and you’re like “ugh, today’s going to be a down day.”
Well, while I’ll agree this style is easier with day-old hair, we’re looking a little to rough for that. Start with some dry shampoo. (Or, if your hair is too clean, I’d use hairspray, a light gel, or whatever else you have to make it a little more willing to play nice!)
And before you say anything, yeah my hair is still looking greasy right now… but that’s just the camera flash. I promise. You’ll see later!
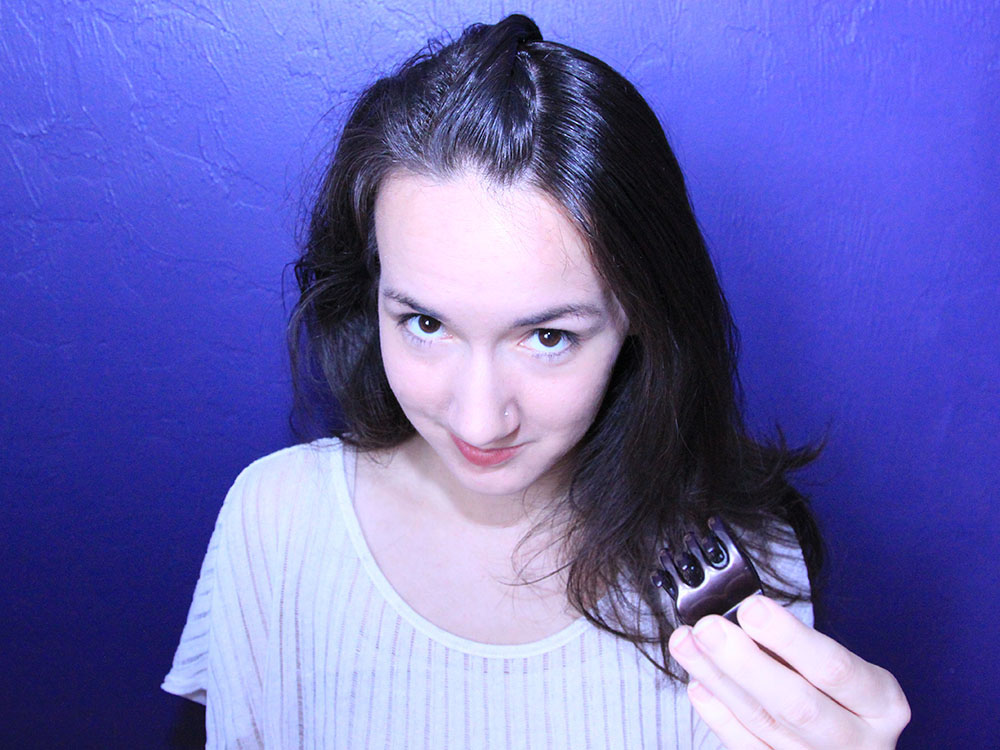
Grab a thin section of your hair, right at the center.
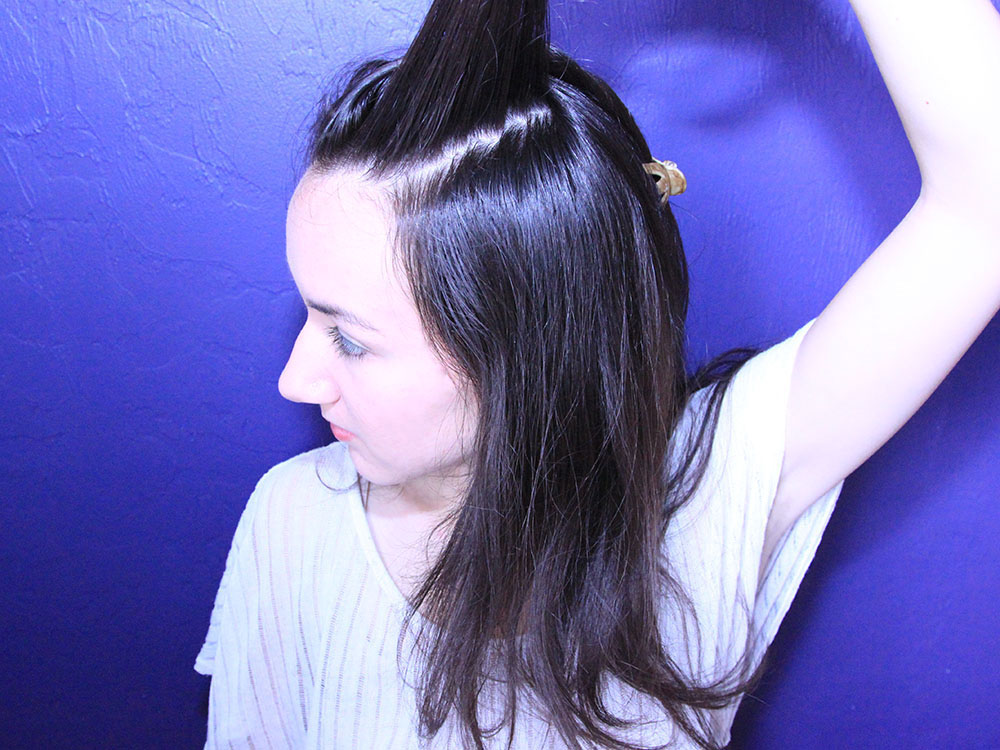
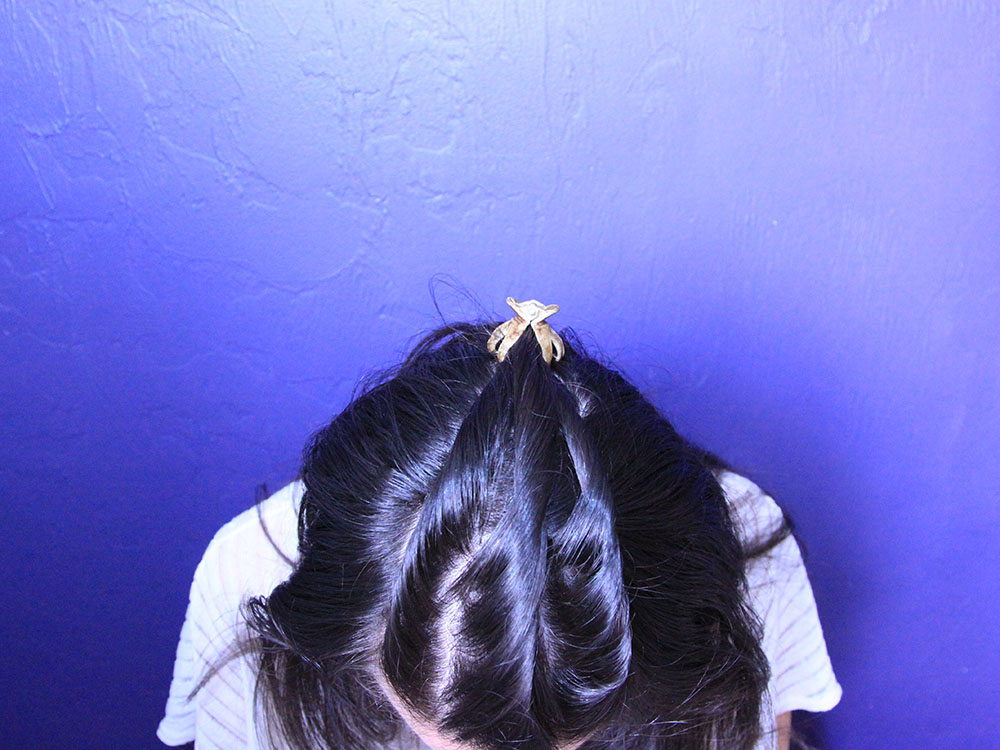
Carefully twist it – as tight as desired – and use a clip to secure it. It’s a temporary hold, so don’t get fancy!
Take another small section, next to the first, and repeat. While it didn’t matter what direction we twisted the middle piece, you’ll want all the other sections to be twisting out from the center.
You can secure this piece with the same clip holding the first, which will make things a bit easier later on.
Do the opposite side of the center, and secure.
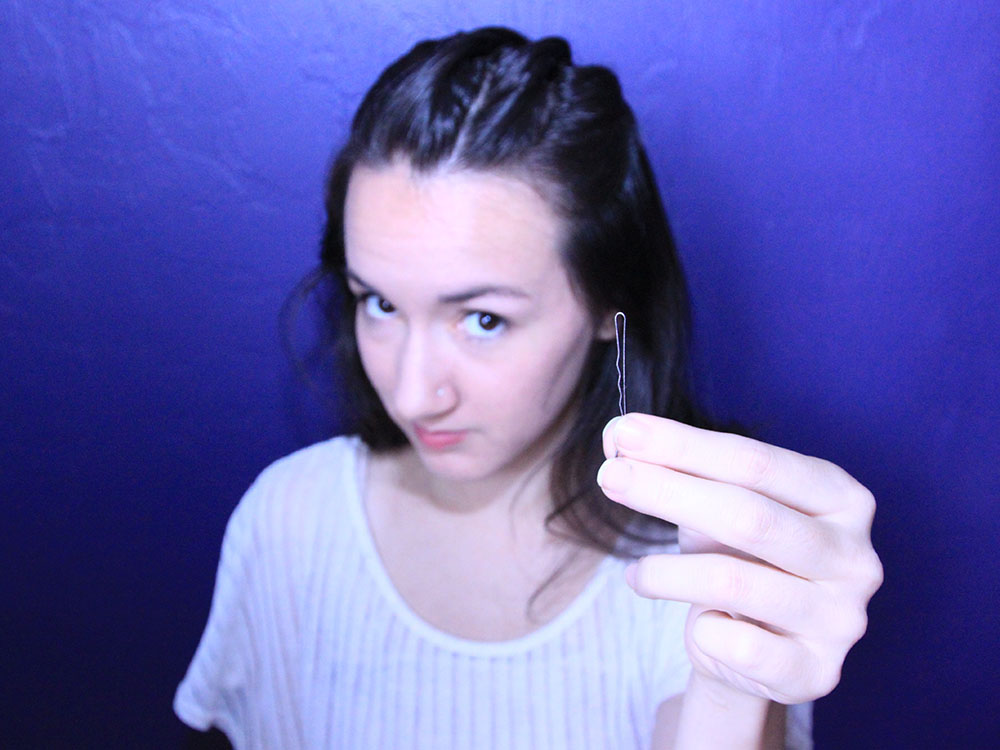
I secured sections that were further from the center with a bobby pin.
Like I said, it’s a temporary hold, so I just kind of threw it in at a weird angle.
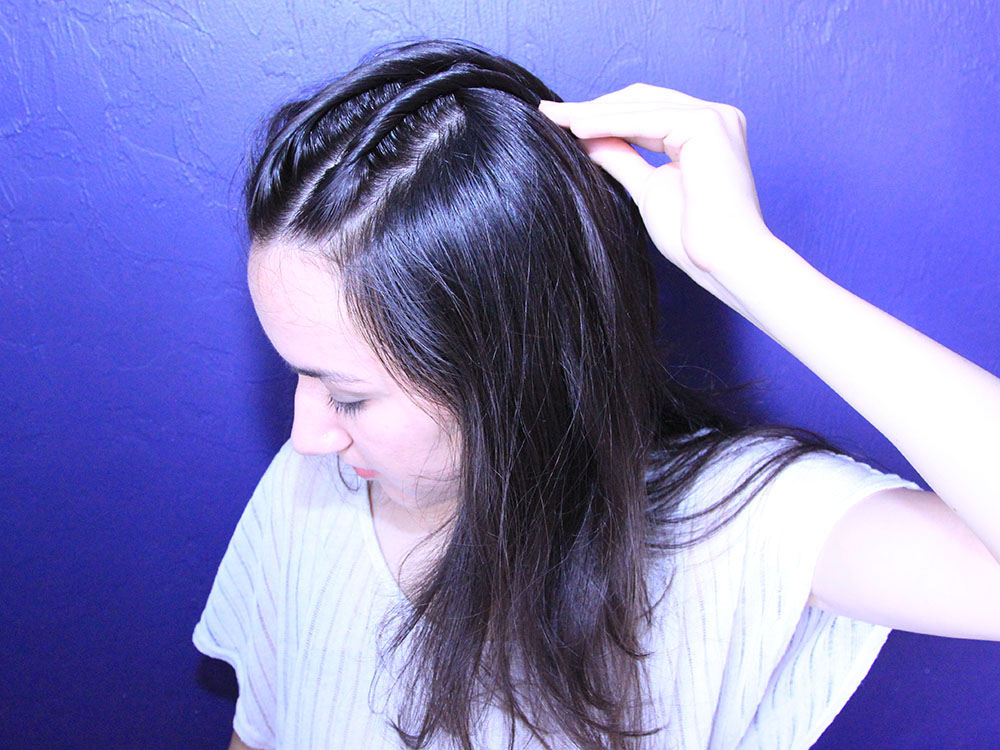
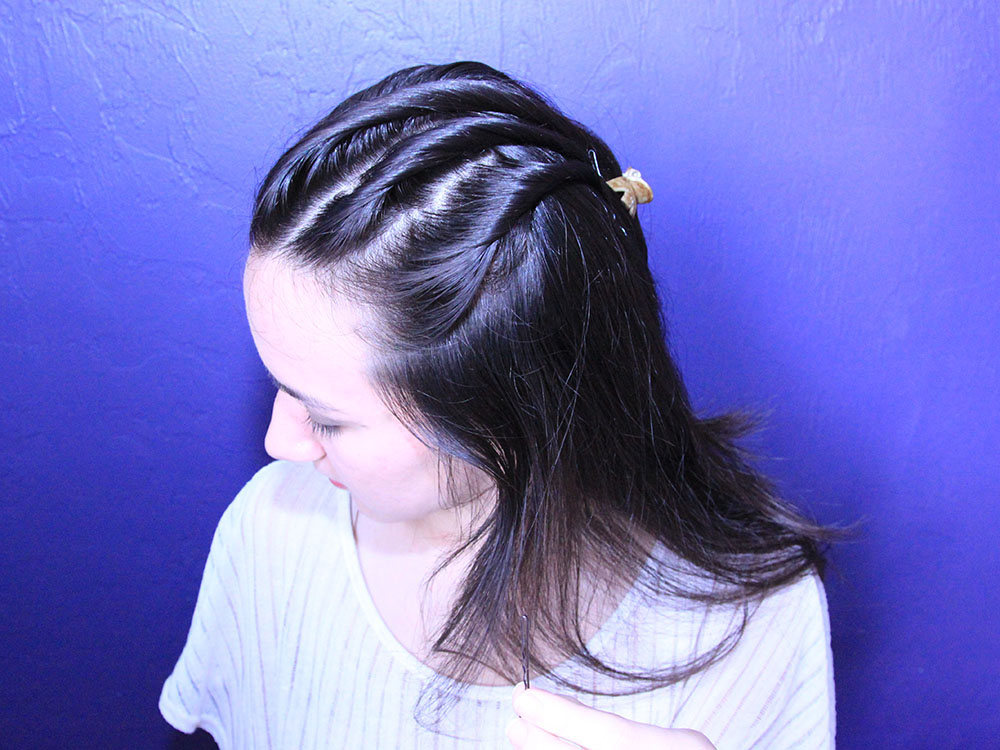
Repeat this technique with as many sections of hair as you want – smaller sections will produce tighter twists and larger sections tend to be looser. I normally have seven twists in my hair.
For the side twists that weren’t near the center, I used a single bobby pin to hold the two – since it will be easier to remove them this way.
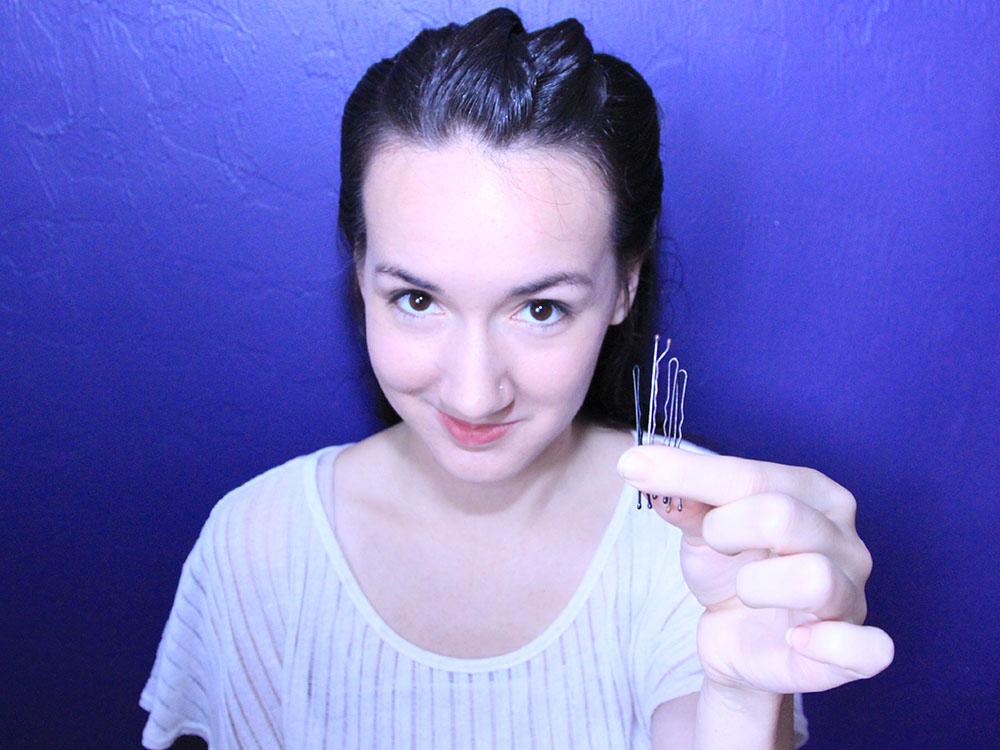
Now we’ll need about 4 bobby pins to hold our bun. You can use more or less as comfortable, but using pins to hold your bun will keep it closer to your head, for a flatter look.
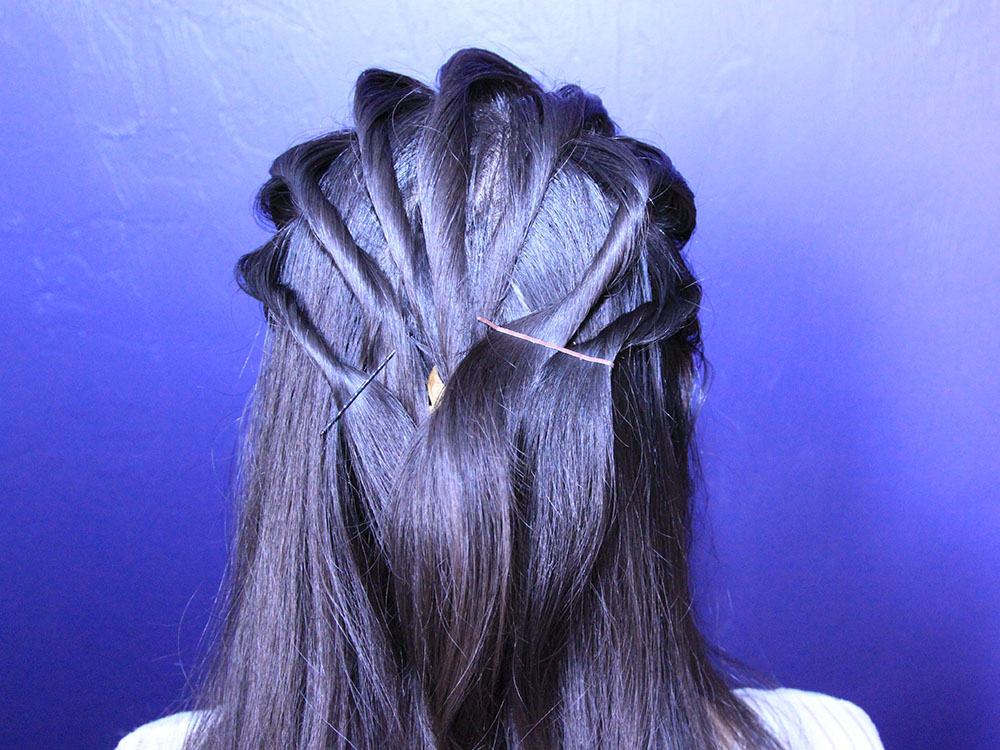
Great, so here’s a picture of the back so far. I’ve got seven twists loosely secured behind my head with just one clip and two bobby pins. Actually, sometimes it’s easier when they are secured further up, but this will work out just fine.
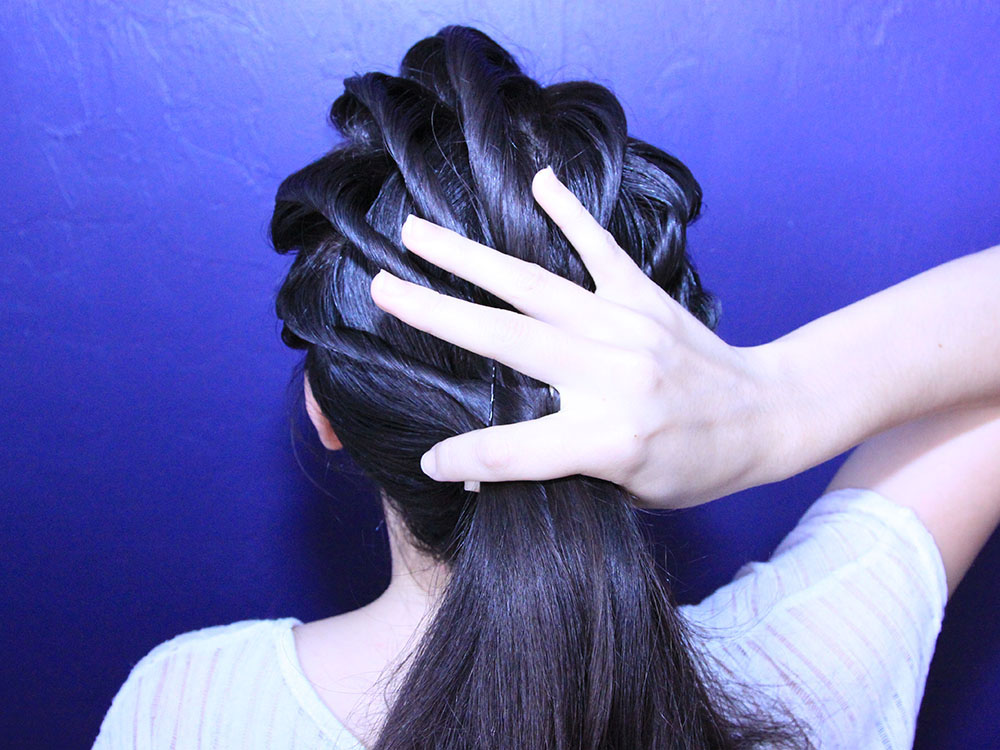
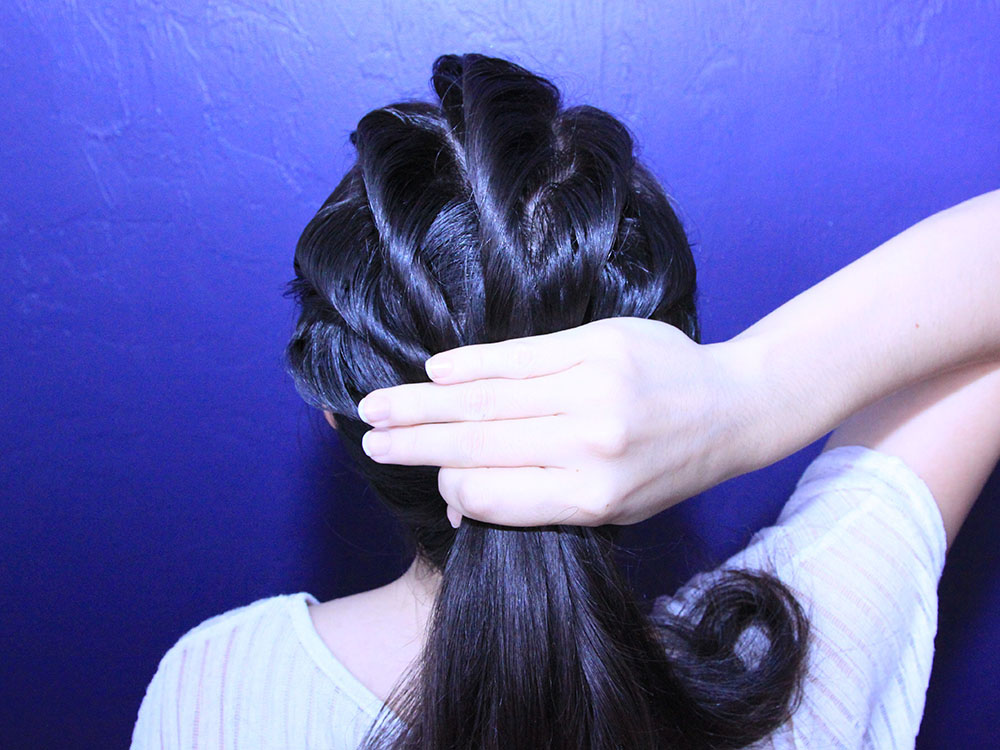
Gather your hair into a pony tail,
pull out the clips that were holding your twists,
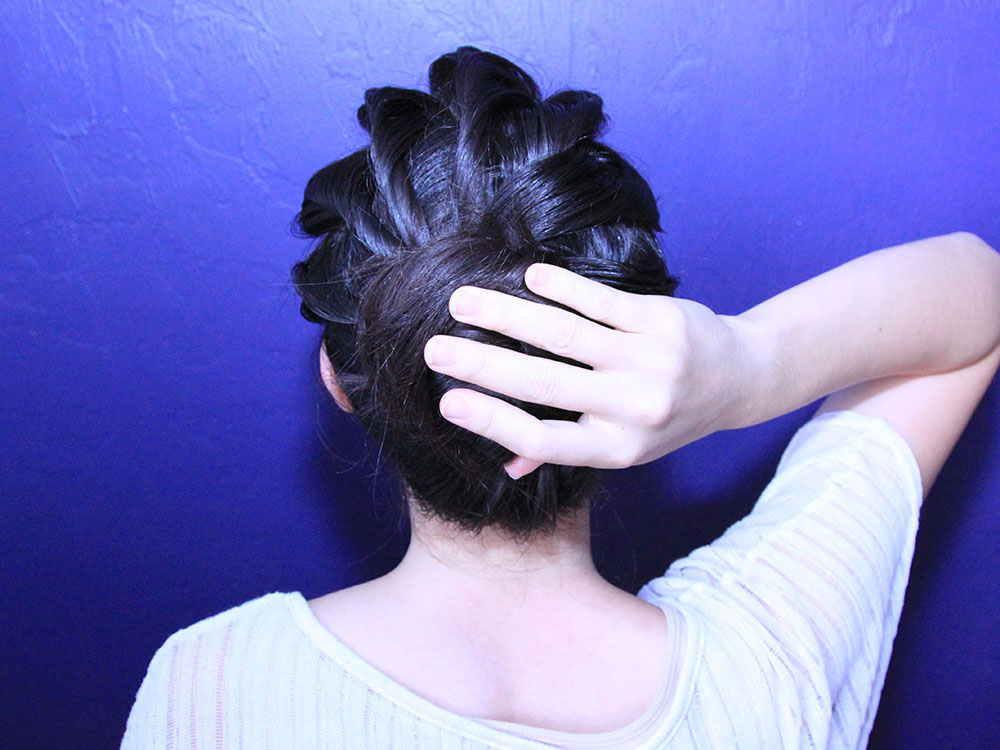
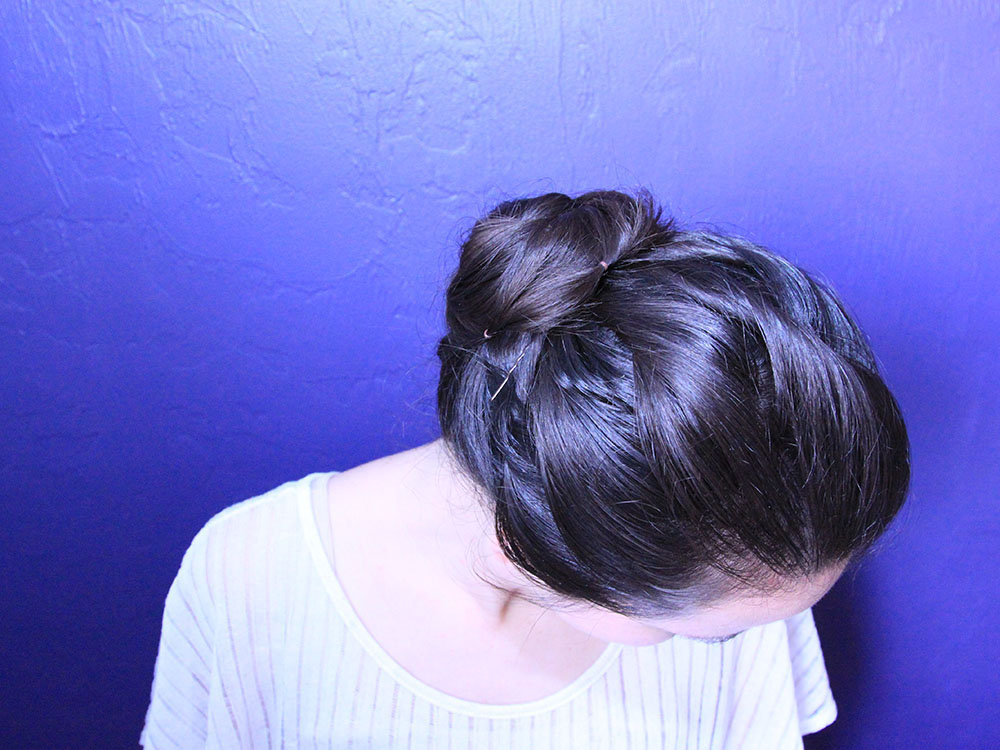
and use your bobby pins to secure a twisted bun.
At this point, the last two twists I did – lowest on either side of my head – are generally at some weird angle. I haven’t perfected getting those right, I just use another two bobby pins to flatten them and hold them against my head. I also take advantage of my second mirror to check out the back of my bun and re-secure it as necessary! (You know, the ol’ “look into a mirror that’s reflecting a mirror from behind you” trick.)
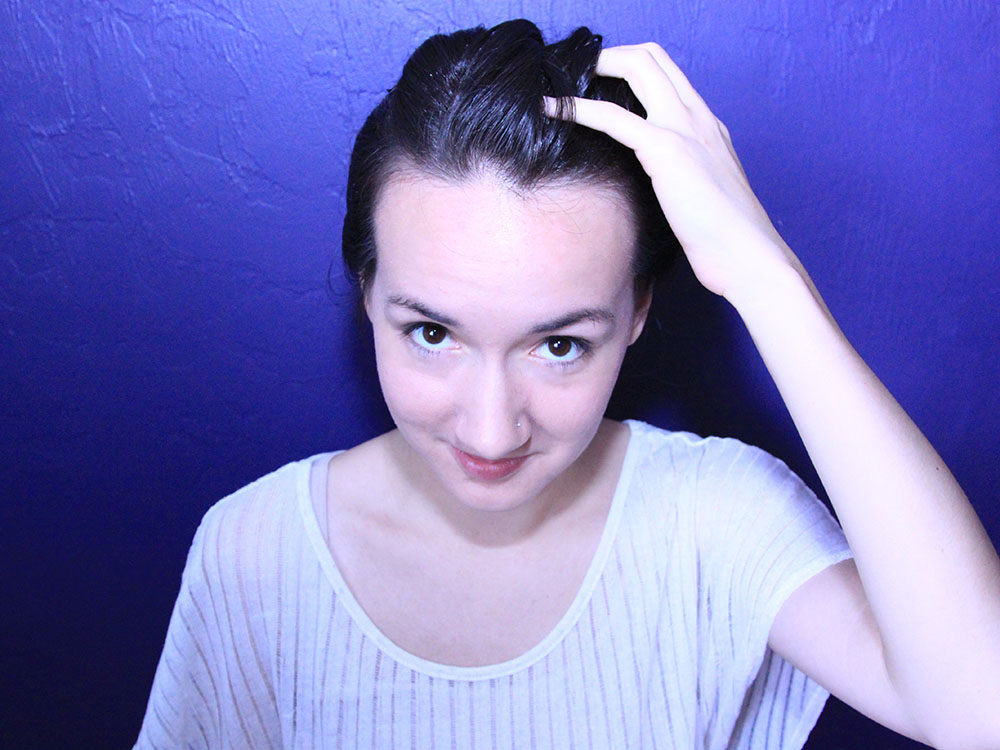
We’re almost done, let’s just finish it up! Run your fingers through your hair to loosen how sharp the style is from the front. (Or not, whatever!)
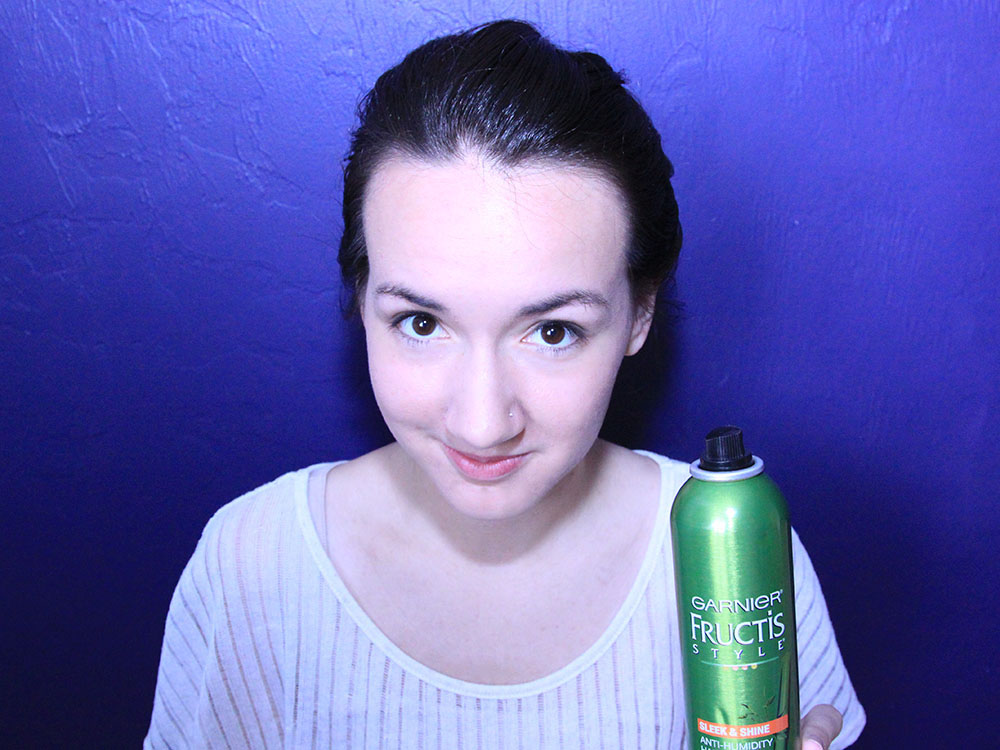
Hold with hairspray.
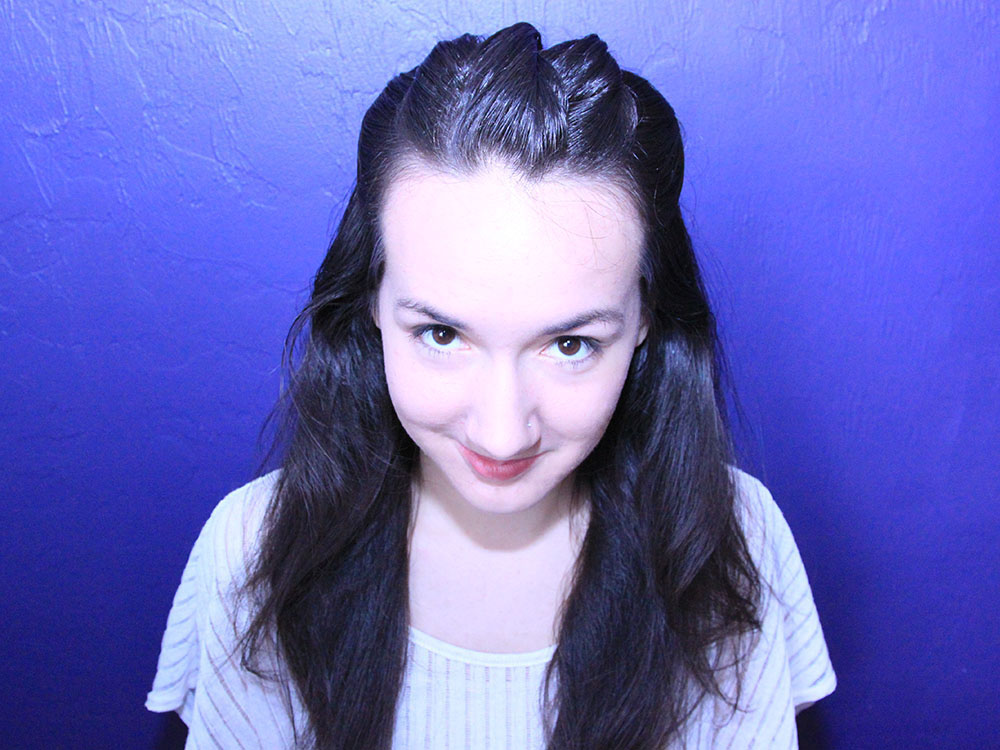
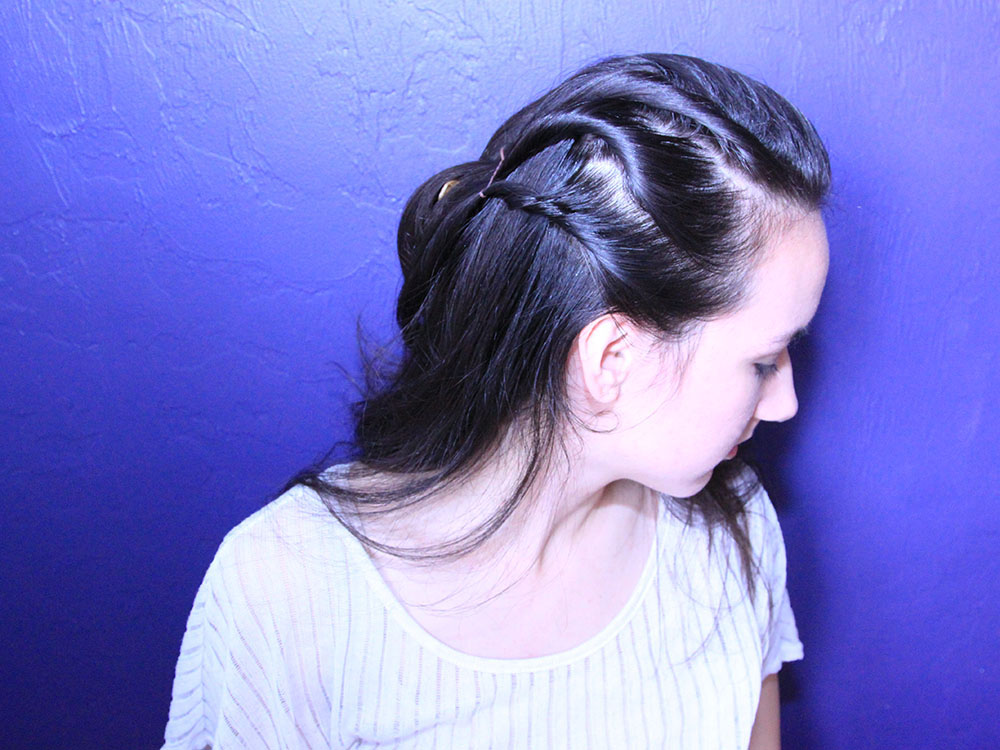
And check it out! It’s got great texture, great presentation, and it’s going to get you through the day, whether it’s rain or just 95% humidity.
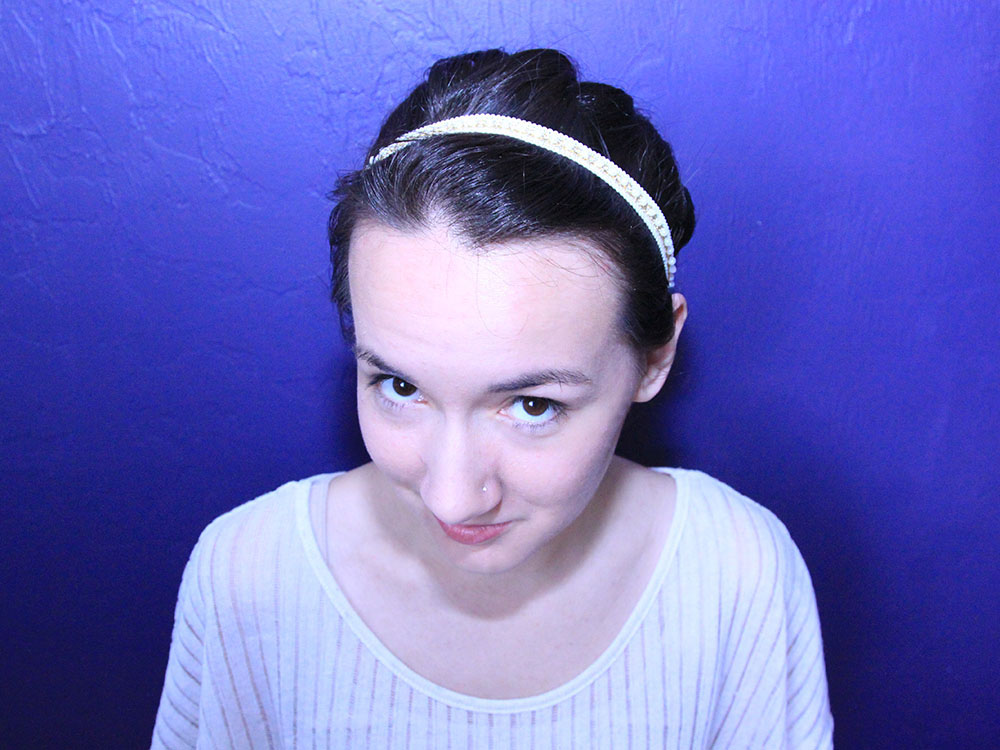
Want to properly accessorize?
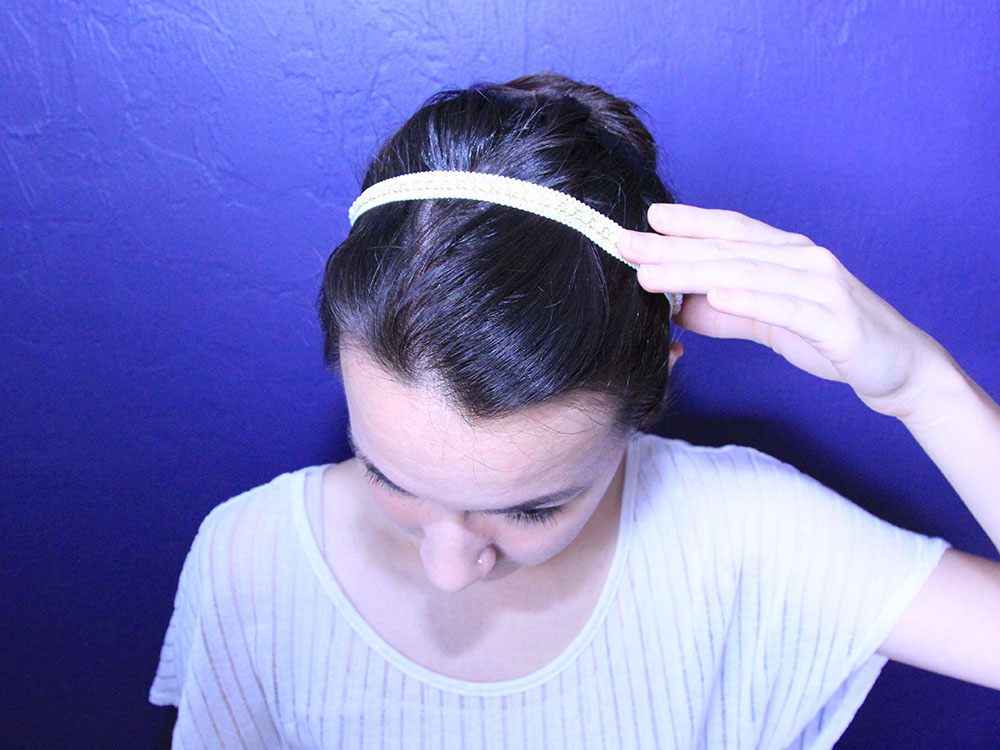
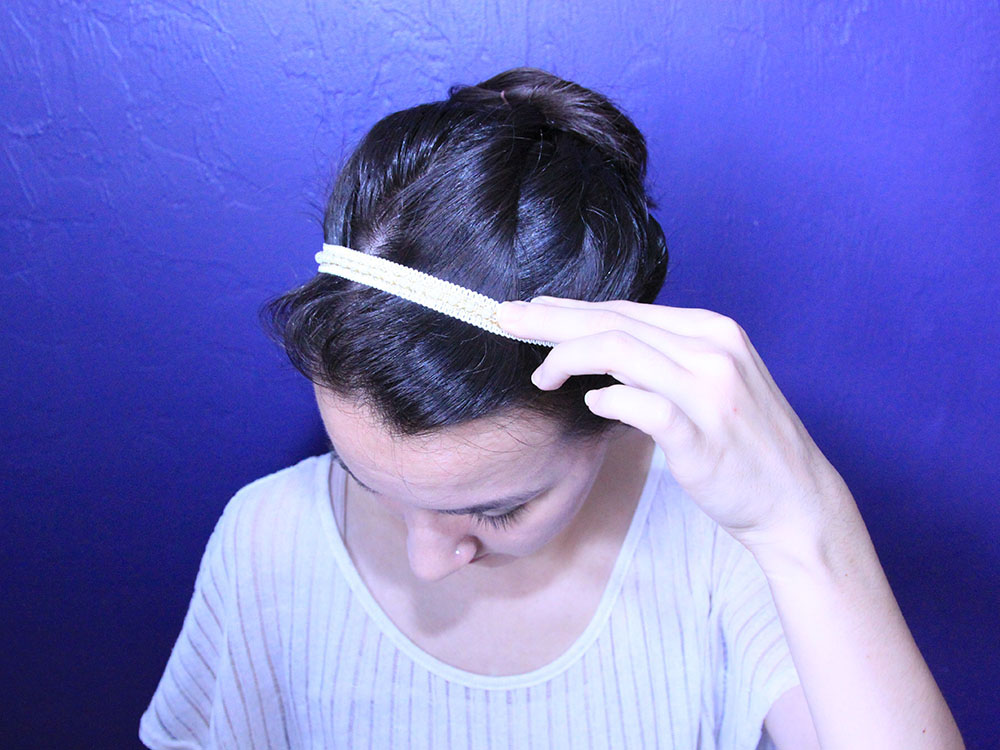
Grab a headband, pulling it back further than you want it to sit,
and gently push down while bringing it forward again.
Ta-da!
Thanks for checking it out! Please leave me a comment below and especially don’t forget to check out the original video I perfected here!
Here’s a full image, for pinnin’ up!






Leave a Reply